A rushed coat of seam sealer can miss the leak entirely.
A drop lands on a sleeping bag, but the wet patch overhead may not mark the leak. Water can travel along a fly before it drips; moisture on the inside may be condensation rather than rain coming through a seam.
With another wet weekend close, find the entry point before opening the sealer. Let the tent dry, then inspect the fly, door corners, and floor edges for worn coating or loose stitching. A gentle hose test can help: wet one area at a time while someone watches inside. Once the source is clear, there is less to seal—and a better chance the repair will have time to cure before the tent is packed.
Find the leak when there is no clear drip
A damp patch does not always reveal where water entered. First, let the tent dry, then pitch it with the fly taut and the doors and vents set as they were when the dampness appeared. A loose fly can touch the inner tent and move water away from its entry point.
Use a watering can or a hose on a gentle shower setting. Wet one small area at a time, starting low on the tent so runoff from higher panels doesn’t confuse the results. Give each area a few minutes, then have someone inside check the corresponding seam with a dry tissue. Blot any moisture before testing the next area; avoid a hard spray that forces water through places ordinary rain might not reach.
A repeatable seam leak wets the same stitch line or seam edge when that area is sprayed again. If moisture instead forms a broad film or scattered droplets on the inner surface, including places away from seams, it may be condensation. The signs that distinguish condensation from a tent leak can help settle an uncertain result.
Once you confirm an entry point, mark it with a fabric-safe pencil or place tape on nearby dry fabric. Take a photo showing the seam and panel, too, before the tent dries and the wet spot disappears.
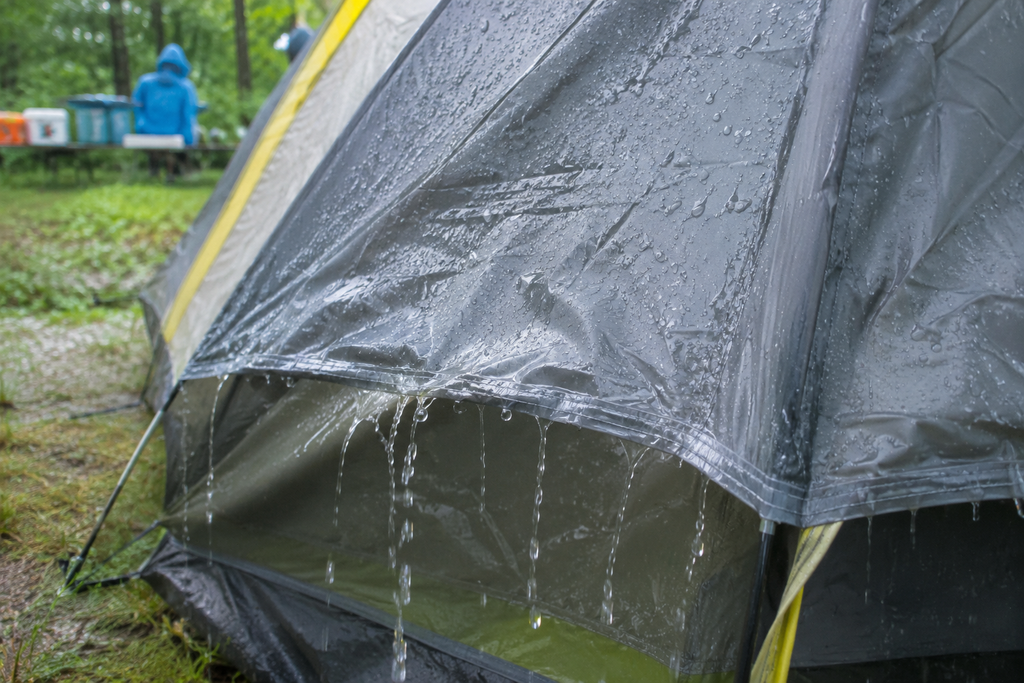
Seal an intact, untaped fly seam
-
Check the stitching and tape
Follow the marked leak along the fly. If the stitching is intact and there is no seam tape covering it, sealer may close the stitch holes. A torn seam or peeling tape needs a different repair.
-
Identify the coating
Check the tent specifications or care label for polyurethane (PU) or silicone coating. Choose a PU-compatible sealer for PU-coated fabric or a silicone-compatible sealer for silicone-coated fabric; fabric feel alone is not a reliable guide.
-
Clean and dry the seam
Pitch the fly so the seam is accessible and lightly tensioned. Remove grit with a soft brush or damp cloth, then let the fabric dry completely before opening the sealer.
-
Apply one thin, continuous bead
Follow the product directions for which side of the seam to treat. Cover the stitching and nearby needle holes without leaving gaps or building up thick patches.
-
Let it cure before packing
Keep the fly dry and unfolded for the full cure time on the sealer label. Once cured, a gentle water test can reveal any missed section before the tent goes back in its bag.
Check with the tent maker before applying sealer. A product made for the wrong coating may not bond well, leaving the seam leaky despite a careful application.
Repair lifting factory seam tape
A tape edge that has curled away from the fabric is no longer a reliable seal. Pressing it flat may hide the gap briefly, but it will not restore the failed bond. Before removing anything, inspect the coating beside the seam: it should remain firmly attached, not sticky, powdery, or flaking.
If the surrounding coating is sound, gently lift away only tape that has already lost adhesion. Leave firmly bonded sections in place rather than pulling up a longer strip, and avoid scraping the fabric. Clean the exposed area as the tent maker recommends, then let it dry completely.
Check the tent’s care instructions and the repair product’s directions before choosing a fix. Depending on the fabric coating and the manufacturer’s guidance, the exposed section may need compatible replacement seam tape or a compatible seam sealer. Follow the specified application and drying time; a repair packed while tacky can stick to other panels.
If the coating comes off with the tape or flakes across a broad area, new tape or sealer has no dependable surface to bond to. Consider a replacement fly or ask the manufacturer about repair options instead of covering the damage with a longer strip.
A short peeling section does not mean the entire seam needs stripping. Tugging at well-adhered tape can damage the coating beneath it.
Fix leaks at tie-outs, corners, and zipper ends
A leak that appears only in hard rain may come from a small area under strain rather than the length of a seam. Check the fly’s tie-outs, corners, and zipper ends while the fabric is dry and lightly tensioned. Look on both sides for stretched stitch holes, a gap where seams meet, or a tiny tear beside the stitching. A damp spot near a zipper may also be water entering at the seam above it and running downhill.
- If the fabric and stitching are intact: Clean and dry the spot, then apply a thin layer of coating-compatible seam sealer over the exposed stitch holes and seam junction. Extend it slightly past the marked leak. Let it cure fully before folding the fly.
- If the fabric is torn: Seam sealer alone will not hold a tear closed, especially at a loaded tie-out. Release the tension and use a patch compatible with the fly fabric and coating, following the patch maker’s placement instructions. A tear that reaches the tie-out attachment or keeps growing may need a professional repair.
- If the leak is near a zipper or vent: Treat the stitching or damaged fabric, not the moving parts. Keep sealer and patch edges clear of zipper teeth, sliders, vent openings, and mesh so they still work.
After the repair cures, wet that one area again under light tension to check whether the drip has stopped.
Check the bathtub floor seam
A wet sleeping bag against the tent wall does not necessarily mean the bathtub seam is leaking. Water may run down the fly, cross the raised floor edge at a low corner, or collect beneath the tent and press against the floor. The bag can then wick up water and make the seam look guilty.
Test the tent on ground that drains, not in a hollow where water will pool regardless of the pitch. Dry the inside, move bedding away from the wall, and gently wet one outside section at a time. Blot the floor edge between sections and watch where moisture first appears:
- Drops emerging along the floor-to-wall seam point to a leak at the seam.
- Water flowing over the raised edge suggests runoff is reaching a low corner or an opening.
- A broad damp patch in the floor, especially after pressure is applied, may indicate worn floor coating rather than a seam problem.
For a confirmed seam leak, let the tent dry, clean the affected area, and apply a sealer compatible with the floor fabric and its coating along the leaking stitch line. Follow the product’s curing time before packing.
If water is pooling instead, move to higher, better-drained ground or adjust the pitch so runoff travels away. Keep any groundsheet tucked beneath the floor; exposed edges can funnel rain underneath.
Retest the seam after it cures
Once the repair has cured for the time specified on the product label, pitch the tent and start with a dry interior. Use a gentle hose spray on one short section at a time, as in the first leak test. Give water a few minutes to work through the stitching before moving along; a hard jet can force water past places that would hold up in ordinary rain.
Check the repaired line and nearby stitch points from inside the tent. A dry cloth can help reveal the first damp spot before water runs down the fabric and obscures its source. If a drip appears, mark that entry point again and let the area dry before deciding what to repair.
Do not simply add another coat of sealer. Check whether the leak comes through an adjacent needle hole, a gap at the edge of the repair, or damaged fabric. Confirm that the product matches the tent’s coating; a sealant that fails to bond will not improve with a thicker layer. Peeling coating or a thinning panel may call for a patch or replacement instead.
- Find the entry A damp patch is not proof of a seam leak. Confirm where water enters before adding sealant.
- Match the repair Match the repair to the fabric coating. Loose tape, exposed stitching, and torn fabric call for different fixes.
- Test after curing Let the repair cure for the time specified by its maker, then gently wet the area and check that the inside stays dry.
- Know when to stop Leaks that persist at several seams, or coating that is peeling across large areas, may call for professional repair or replacement.
Before a wet trip, the tent is ready only if the leak has been located, the repair suits the coating, the cure is complete, and a retest leaves the inside dry. If repeated repairs are becoming routine, especially before trips with heavy rain and wind, it may be worth looking for a tent built for stormy conditions.