Let the ground make the shopping list.
A cart full of raised-bed kits is little help if the chosen patch gets only three hours of sun. Before spending much, watch the site over a clear day: most vegetables need at least six hours of direct sunlight. Check whether rainwater lingers, and choose a spot close enough to water without hauling buckets across the property.
Start with one small in-ground bed, a few crops the household actually eats, and borrowed or existing tools. Seeds, compost, and a way to water may be enough for a first season. That modest planting will reveal what the site lacks—better drainage, easier watering, or protection from animals—before any of those fixes becomes a purchase.
Mark a patch worth planting
A first garden does not need the largest open space on the property. Start with a patch close enough to a water source that carrying cans or running a hose will be practical throughout the summer. A small, well-placed planting area is easier to water, weed, and protect than a larger one that receives too much shade.
Watch a candidate spot in the morning, around midday, and late afternoon, noting when direct sunlight reaches the ground rather than nearby treetops. Fruiting crops such as tomatoes and peppers generally perform best with at least six hours of direct sun; leafy greens can tolerate less. The sunlight needs of different vegetables can help determine whether a partly shaded spot is still useful. Check again once nearby deciduous trees have leafed out if the site is being chosen in early spring.
After rain, look for standing water and soil that stays soggy while surrounding ground dries. Avoid placing the first bed in that low spot simply because it is flat. Once a workable site is clear, mark one modest growing area—roughly 4 by 8 feet—with sticks or string, leaving space to walk around it. That outline, not a shopping list, is the first decision.
Use the ground before building beds
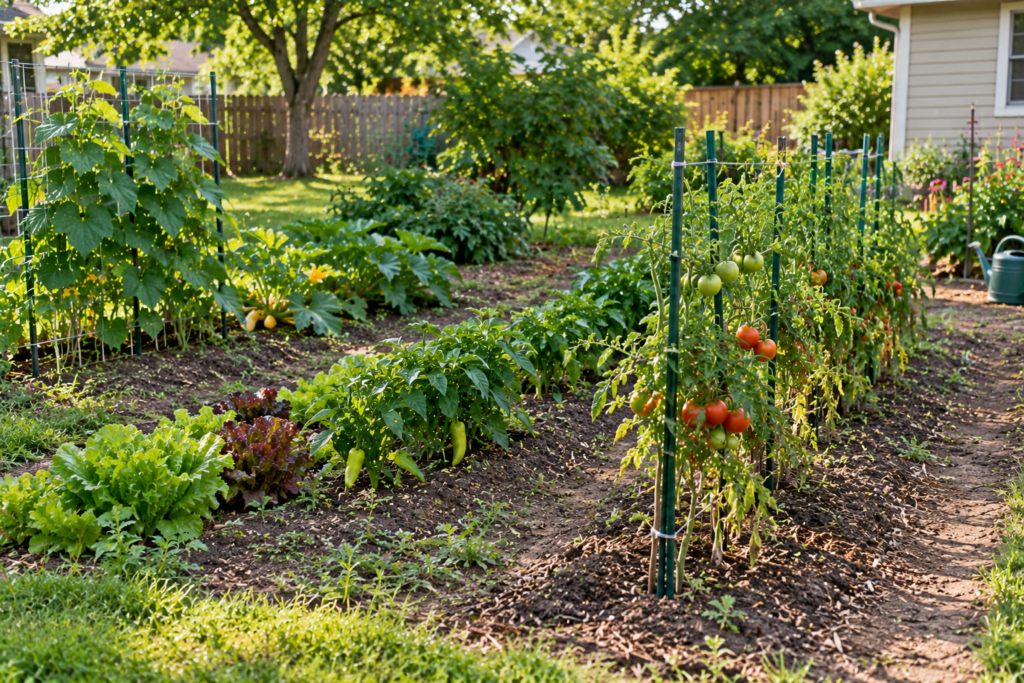
A raised bed is not the default starting point. If the marked patch drains after rain, has usable topsoil, and can be loosened without working it while wet, an in-ground bed may need little more than cleared weeds and compost where testing shows it is useful. A handful of moist soil should crumble when pressed; soil that stays slick and dense deserves closer attention, not an automatic order for lumber.
Before buying lime, fertilizer, or bags of garden soil, send representative samples to a local extension lab. Its pH and nutrient results can identify what is actually missing; follow the soil-sampling steps before adding amendments. Where the site has a history of dumped materials, old painted structures, or other possible contamination, request appropriate contaminant testing too. Suspected unsafe soil should not be treated as a routine drainage problem.
Raised beds become more useful where native soil stays waterlogged, is severely compacted, has too little depth, or must be separated from contaminated ground with an appropriate barrier and clean growing mix. They also cost more than their frames suggest: even a shallow bed takes substantial fill. A kit saves measuring and assembly time, but loose soil in an unframed bed—or a simple frame built later—can grow vegetables just as well.
Set width by comfortable reach, not by the dimensions of a kit: about 3–4 feet works when both long sides are accessible; limit a bed reached from one side to about 2 feet. Leave at least 2 feet for walking and closer to 3 feet where a wheelbarrow must pass. That layout keeps feet off planting soil and leaves room to weed, harvest, and carry compost.
Pick a short crop list and put dates beside it
-
Start with familiar meals
List vegetables the household regularly eats, then choose three or four for the first season. A small harvest that gets used is more valuable than a long list of crops that need separate care.
-
Check what fits
Read seed packets or plant tags for mature size, spacing, and sun requirements. In a 4-by-8-foot patch, compact greens and a few upright plants are easier to accommodate than sprawling pumpkins or squash.
-
Find the local frost dates
Use a local extension service’s average last spring and first autumn frost dates as planning guides, not guarantees. Compare the frost-free window with each crop’s days to maturity, allowing extra time for slower growth in cool weather.
-
Mark direct-sowing dates
Peas, carrots, and radishes are usually sown where they will grow; their packets specify whether to plant before or after the last frost. Beans are generally sown after frost danger has passed and the soil has warmed.
-
Mark indoor starts separately
Tomatoes and peppers are commonly started indoors, then transplanted outdoors after frost danger passes. Work backward from the planned transplant date using the packet’s lead time; indoor seed-starting dates tied to the last frost help turn that interval into a calendar entry. Keep the final list beside the dates for sowing and transplanting each crop.
Choose seeds or starts before buying equipment
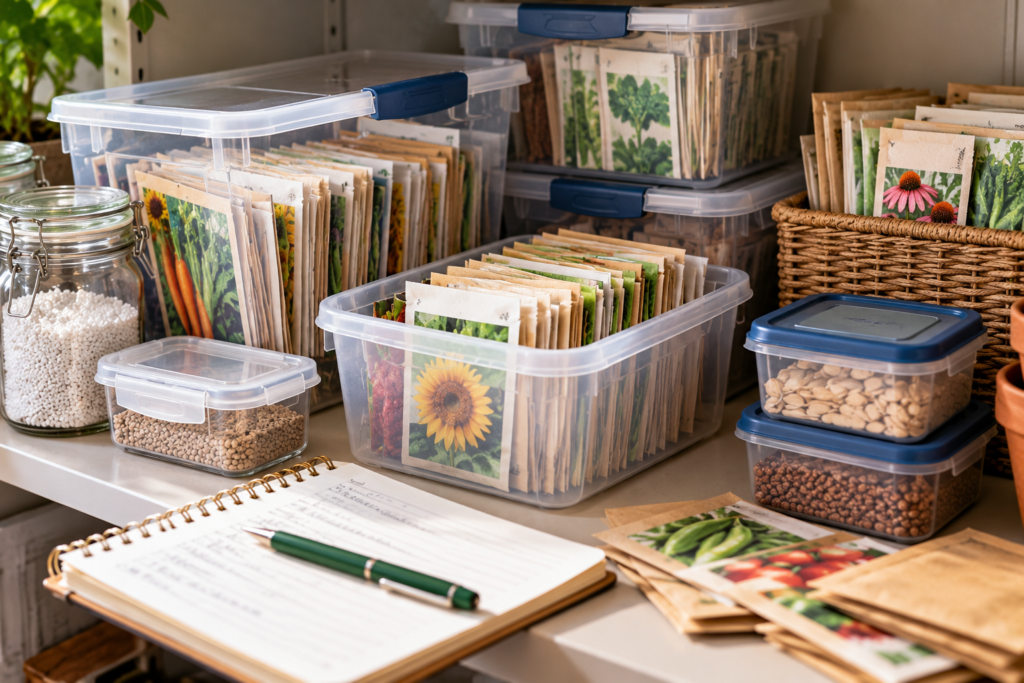
Direct sowing costs little and requires no indoor setup. Peas, beans, radishes, and carrots can be sown where they will grow; carrots especially dislike being transplanted. Follow packet guidance on soil temperature: sowing into cold, wet ground can leave seeds rotting rather than growing.
For a small first garden, purchased transplants often make more sense than indoor seed starting. A few healthy tomato or pepper plants from a nursery can go into the ground after frost danger passes and the soil warms. They cost more per plant than seed, but avoid buying trays, lights, and seed-starting mix for only two or three plants.
Indoor seed starting becomes worthwhile when many transplants are needed, a desired variety is hard to find locally, or the growing season is too short to sow a crop outdoors. Reusable trays hold the plants; a grow light provides consistent light when a window cannot. Without enough light, seedlings stretch and weaken. Before purchasing either, compare the planned number of plants with the price of nursery starts—and check the crop’s recommended start date against the local last frost date.
Buy tools for the work at hand
-
Prepare the soil
A spade or digging fork can loosen compacted ground and mix in amendments; a sturdy rake levels the surface. Borrow either tool before buying if the patch needs only one round of preparation.
Worth havingA tool suited to the soil and comfortable to use.Skip for nowA tiller for a single small bed. -
Plant at the right depth
A hand trowel handles nursery starts, while a stick marked with planting depths works for seeds. Neither job requires a dedicated planter.
Worth havingA trowel and a simple depth marker.Skip for nowSeed dispensers and transplanting gadgets. -
Get water to the roots
Check that a hose reaches the bed before buying attachments. A gentle nozzle or small watering can helps water new seeds without washing soil away.
Worth havingReliable reach and a gentle flow.Skip for nowIrrigation kits before watering needs are clear. -
Move materials without strain
Buckets suffice for small amounts of compost. For repeated heavy loads, compare a wheelbarrow and garden cart on uneven ground against the actual load, path, and available storage; borrow one for occasional hauling.
Worth havingCapacity and stability matched to repeated trips.Skip for nowA bulky cart used once a season.
Water the roots, not just the surface
Before planting, make sure a hose reaches the bed or that carrying water to it is realistic on hot days. A watering can works for a small patch; a hose with a gentle nozzle is faster if a tap is nearby. Either can do the job without an irrigation system.
Apply water slowly around the plants rather than sweeping a quick spray across the bed. Give it time to soak in, pause if water starts running off, then check with a finger or trowel to see whether moisture has reached below the surface. Soil that looks dry on top may still be moist where roots are growing.
There is no dependable calendar interval for every bed. Weather, soil, mulch, and plant size all change how quickly it dries; a below-surface check for raised beds is more useful than watering lightly every day. Newly sown seeds need the top layer kept moist until they establish, while established plants generally benefit from a slower, deeper soaking.
Wait to buy drip irrigation until bed positions and plant spacing are settled. It becomes more worthwhile when hand watering cannot be done reliably—for example, during regular absences or across several beds. Otherwise, a season of watering by hand reveals where water collects, runs off, or dries fastest before any tubing is laid.
Cover crops only when there is a threat
A small garden rarely needs every bed covered all season. Check the forecast and watch for pests on the crops being grown; then protect only the plants at risk.
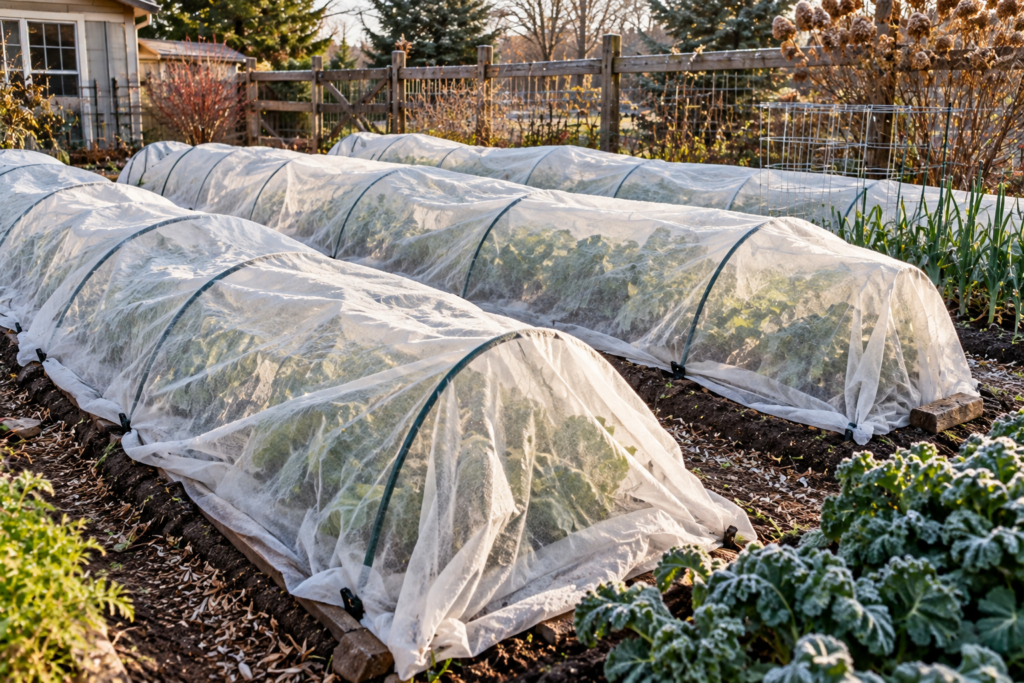
For a cold night, drape frost cloth over hoops or stakes tall enough to keep the fabric from pressing on tender leaves. Put it on before temperatures fall, secure the edges with stones, boards, or soil, and remove it when the air warms the next day. Plastic should not touch foliage: where it contacts leaves, cold damage can still occur.
Insect netting works differently. It must go on before the target pest arrives—ideally just after sowing or transplanting—because netting can trap insects or eggs already on the plants. Inspect leaves, including their undersides, before covering. Support the netting so it does not snag growing plants, and close every edge after watering or weeding; an open gap defeats the barrier. Flowering crops that need insect pollination, such as squash, need the netting removed when flowers open unless they are hand-pollinated.
Before buying anything else, check the chosen site, soil test results, bed dimensions, planting dates, and watering plan. Then make a purchase list from the first planting: seeds or starts, any amendment the soil test calls for, and tools needed for jobs that cannot be done with what is already available. A small, planted bed is more informative than an unused collection of gear.
Keep a simple season log of sowing dates, harvests, watering time, and problems that recur. Those notes show whether the garden produced food without becoming a burden—and which change, if any, is worth paying for next year.