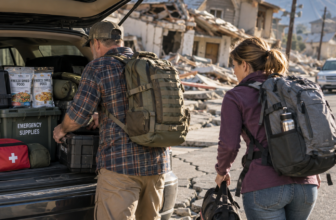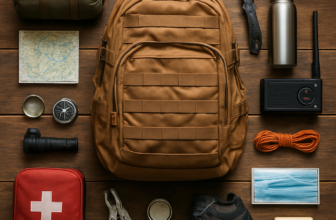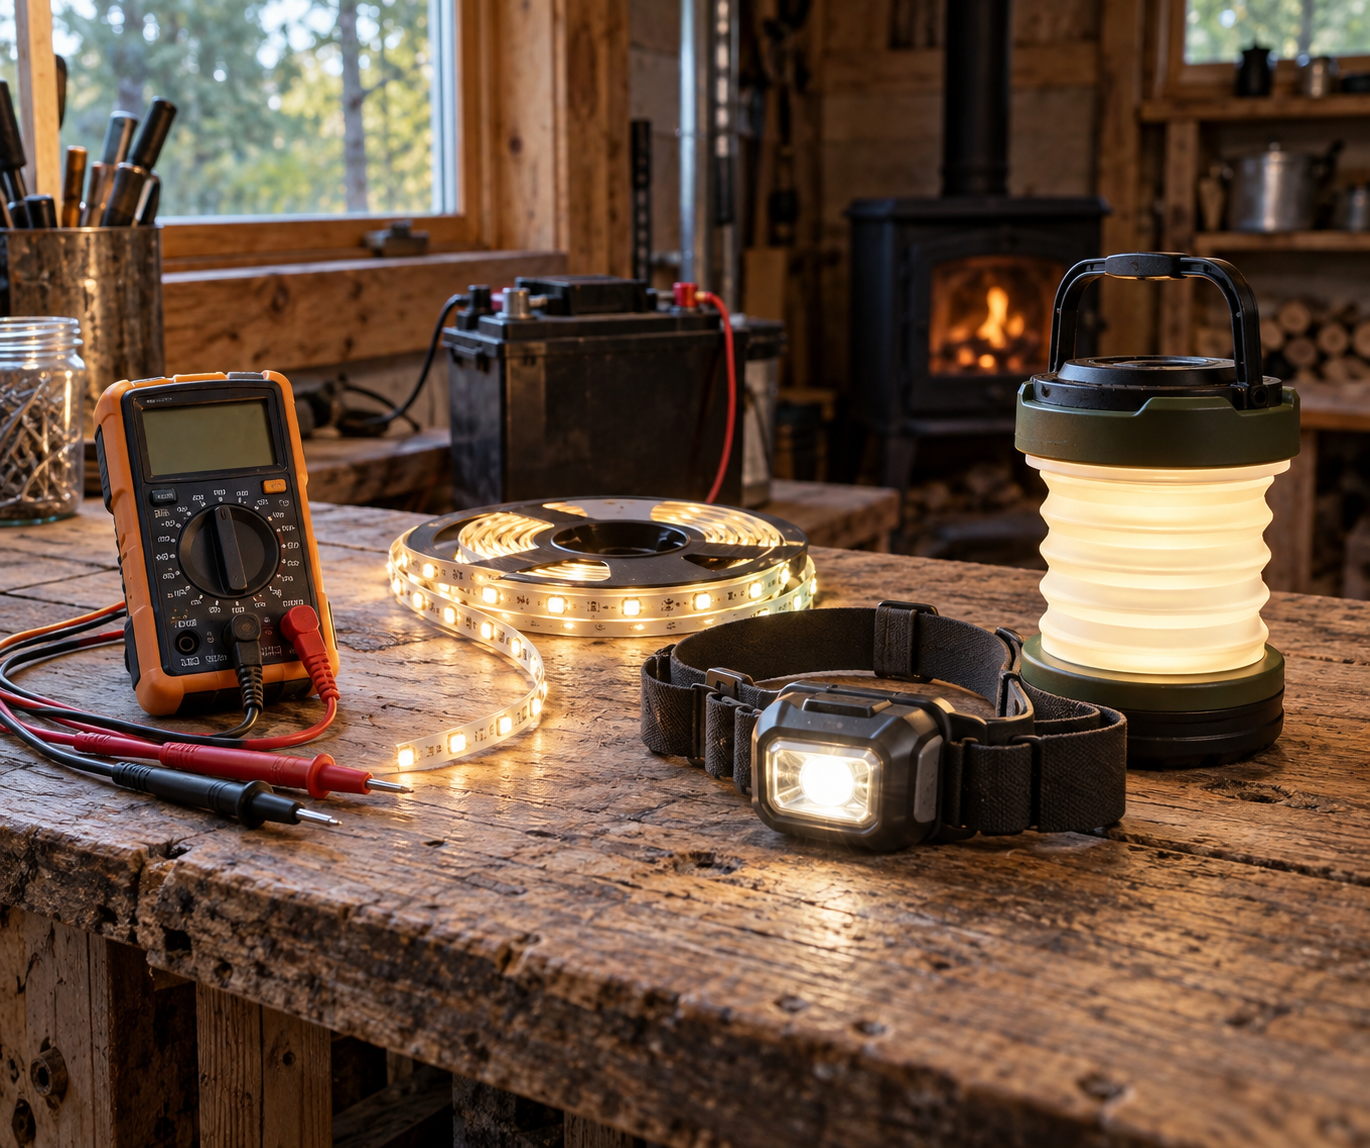
A good off-grid setup does not start with a giant solar array or a plumber’s invoice. It starts with a handful of small, cheap tools that quietly solve the problems that actually ruin a day: a leak you cannot find in the dark, a battery that might be dead, a phone at two percent, water you are not sure about, or a weather warning you never heard. I have watched a ten-dollar tool save an afternoon more than once, and that is really the theme here.
This guide covers 15 low-cost off-grid essentials, each under $50. Together they hit the core needs of a cabin, RV, homestead, workshop, or remote property: light, power, water, fire, safety, and electrical diagnostics. None of these are novelty gadgets. Each one earns its spot, whether you are wiring a first 12-volt system, prepping for outages, or just making an established place easier to live with.
What You’ll Learn
- A carbon monoxide detector covers the one safety risk off-grid you truly cannot sense on your own.
- A multimeter and alligator-clip leads make 12-volt power easy to test, power, and troubleshoot.
- LED strips, headlamps, and a collapsible solar lantern give you flame-free light indoors and out.
- A rain diverter, storage containers, a gravity filter, and a UV pen let you catch, store, and treat water.
- A ferro rod, a hand-crank radio, and a tire plug kit keep fire, information, and your truck going when the grid does not.
Table of Contents
- Step 1: Start With a Battery-Powered Carbon Monoxide Detector
- Step 2: Buy a Basic Digital Multimeter Before Troubleshooting Any 12-Volt System
- Step 3: Install 12-Volt LED Strip Lights for Efficient Off-Grid Lighting
- Step 4: Keep USB-Rechargeable Headlamps Where You Need Them
- Step 5: Add a Collapsible Solar Lantern for Indoor and Outdoor Light
- Step 6: Store Energy in a 20,000 mAh Solar Power Bank
- Step 7: Add a Folding Solar Panel for Faster Charging
- Step 8: Set Up a Gravity Water Filter for Daily Drinking and Cooking Water
- Step 9: Carry a USB Water Purifier Pen for Water Away From Home
- Step 10: Add a Downspout Rain Diverter to Catch Free Water
- Step 11: Keep Collapsible Water Storage Containers on Hand
- Step 12: Store a Ferro Rod and Reliable Tinder for Fire Starting
- Step 13: Add a Hand-Crank Emergency Radio for Alerts and Backup Communication
- Step 14: Keep Alligator-Clip Jumper Leads for Quick 12-Volt Connections
- Step 15: Stash a Tire Plug Kit in Every Property Vehicle
- Step 16: Use This Under-$50 Off-Grid Shopping Checklist
- Step 17: Prioritize Purchases Based on Your Off-Grid Setup
Step 1: Start With a Battery-Powered Carbon Monoxide Detector
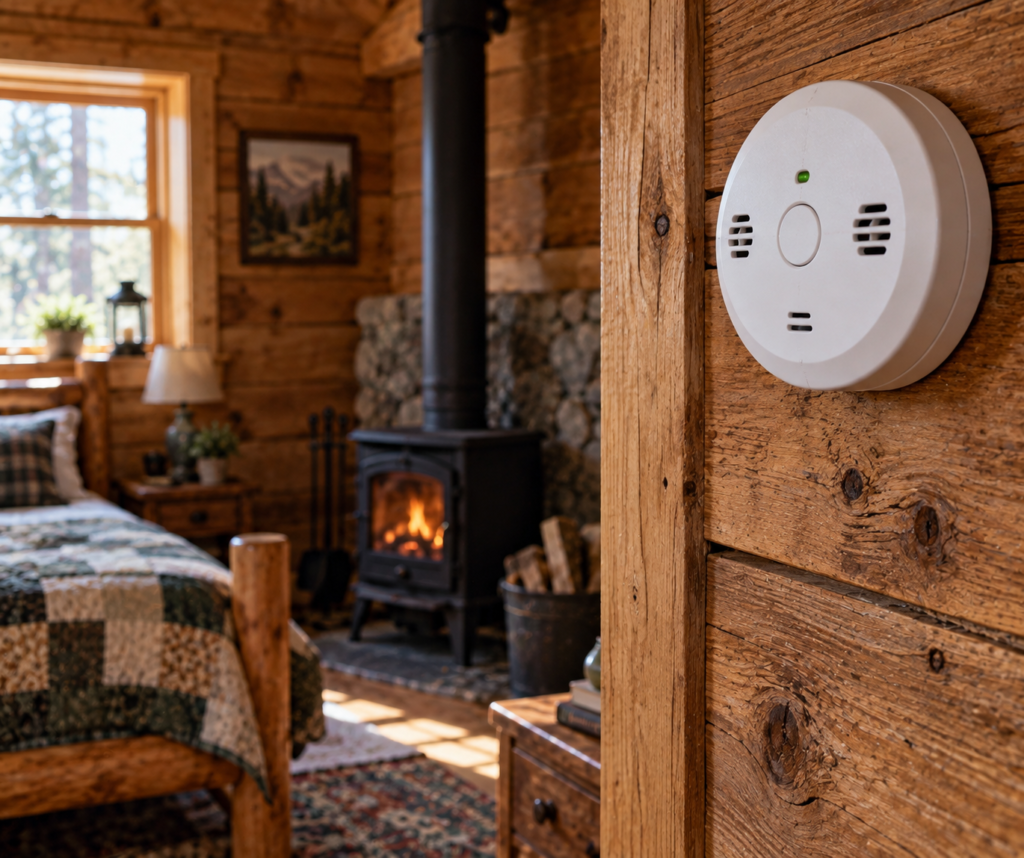
This is the most important item on the whole list, so it goes first. A carbon monoxide detector warns you about a hazard you genuinely cannot catch on your own, because the gas has no smell, no color, and no taste. By the time you feel it, you are already in trouble.
Our pick for grab-and-go water: a 4-pack of personal water filter straws puts safe drinking water in every bag, car, and kit — see why four beats one.
Carbon monoxide comes from fuel-burning gear: propane and diesel heaters, wood stoves, kerosene lamps, waste-oil burners, furnaces, and generators. It gets especially dangerous in enclosed or poorly ventilated spaces, which is exactly what a snug cabin in winter becomes. Early exposure can feel like a headache and drowsiness. Keep going and it leads to unconsciousness and death. That is why a detector belongs in every sleeping area and any room where people spend long stretches near a flame.
What to buy: a battery-powered carbon monoxide detector, usually around $20. Placement matters:
- At head height in bedrooms and sleeping areas.
- In living spaces heated with an open flame or fuel-burning heater.
- Near but not right beside any equipment that could produce carbon monoxide.
Battery units are perfect off-grid because they keep working even when the battery bank, inverter, or grid connection is down. Replace the batteries yearly and replace the unit itself on its stated service life, commonly every five to seven years. For homes, RVs, cabins, fishing shacks, garages, and temporary shelters, this is not a nice-to-have. It is basic safety equipment.
Step 2: Buy a Basic Digital Multimeter Before Troubleshooting Any 12-Volt System
A cheap digital multimeter is one of the highest-value tools in off-grid power. It reads voltage, current, resistance, and continuity, so you can find simple faults instead of swapping good parts or paying for a service call. Most off-grid electrical headaches trace back to a few boring culprits:
- A discharged battery.
- A blown fuse.
- A loose or damaged wire.
- A solar panel that is shaded, damaged, or disconnected.
- A charge controller not sending power to the battery.
A multimeter turns those guesses into numbers. Here is what a 12-volt battery is telling you:
- About 12.7 volts: the battery is full.
- About 12.0 volts: it is roughly half discharged.
- About 11.5 volts: it is effectively dead.
A solar panel putting out around 18 volts in direct sun is working. If it reads only a few volts, suspect shade, damage, or a bad connection. A continuity test tells you in seconds whether a fuse or wire is intact. What to buy: a basic digital multimeter, often around $10. If you own a solar panel, battery, charge controller, inverter, LED system, or any 12-volt appliance, this should be one of your very first purchases. Learning to read DC voltage saves hours of guessing.
Step 3: Install 12-Volt LED Strip Lights for Efficient Off-Grid Lighting
Traditional cabin lighting wants 120-volt AC wiring, fixtures, switches, an inverter, and a bigger battery to cover the conversion losses. Twelve-volt LED strips skip that entire chain by running straight off a 12-volt battery. A typical 16-foot roll costs roughly $10 to $15 and can go under shelves, along ceiling beams, inside closets, around a workbench, or anywhere that needs light.
- They run directly from a 12-volt battery, no inverter needed.
- They sip power and can be cut to length at marked intervals.
- They stick up fast with adhesive backing, for ambient or task light.
A full 16-foot roll draws about one to two amps, under 25 watts. On a 100 amp-hour battery, that is more than 50 hours of light on one charge. A whole small cabin lit with strips might use about 40 watts, which a single 100-watt solar panel can replace in roughly two hours of sun. Choose warm white for living areas and kitchens where you want a comfortable glow, and cool white for shops and workspaces where you need to see detail.
Step 4: Keep USB-Rechargeable Headlamps Where You Need Them
A flashlight is fine until you need both hands, which off-grid is most of the time. Fixing a water line, reaching into a battery compartment, hauling firewood, walking the property after dark, checking a dripping valve at 2 a.m.: a headlamp wins every one of those. A good USB-rechargeable headlamp runs about $12 and should have three modes worth using:
- Red light to preserve your night vision.
- Flood for close work and broad lighting.
- Spot for seeing farther down a path or across a yard.
Most charge from a phone charger, power bank, solar panel, or any USB port, and a charge lasts roughly eight to 12 hours on medium. Do not treat a headlamp as emergency-only gear. Keep one in the kitchen, one in the workshop, and one in a jacket pocket, vehicle, or daypack. Rechargeable models cut down on disposable batteries and drop right into a solar USB setup.
Step 5: Add a Collapsible Solar Lantern for Indoor and Outdoor Light
A headlamp points where you look. A lantern fills a room, and that is a different job. This is the light you set on the kitchen table during an outage, hang in a tent, or carry to the outhouse. A collapsible or inflatable solar lantern gives soft 360-degree area light, folds nearly flat when you are done, and charges for free in a sunny window. Best of all, it is safe to run indoors. No flame, no fuel, no fumes, which is exactly what you want in a tight cabin where candles and kerosene raise the very carbon monoxide risk we started this list with.
- Two ways to charge: sunlight through the built-in panel, or a USB cable for a fast top-up.
- Packs small: it collapses or deflates to slip into a bag or a kitchen drawer.
- Often does double duty: many are waterproof and some can charge a phone in a pinch.
What to buy: a USB-and-solar rechargeable collapsible LED lantern, about $20 to $25, or a multi-pack if you want one for every room. One honest caveat, the same one that applies to any built-in solar panel: charging from the sun alone is slow. Top it up in a window between uses or hit it with a USB cable before a storm, so it is ready when the lights go out rather than half empty.
Step 6: Store Energy in a 20,000 mAh Solar Power Bank
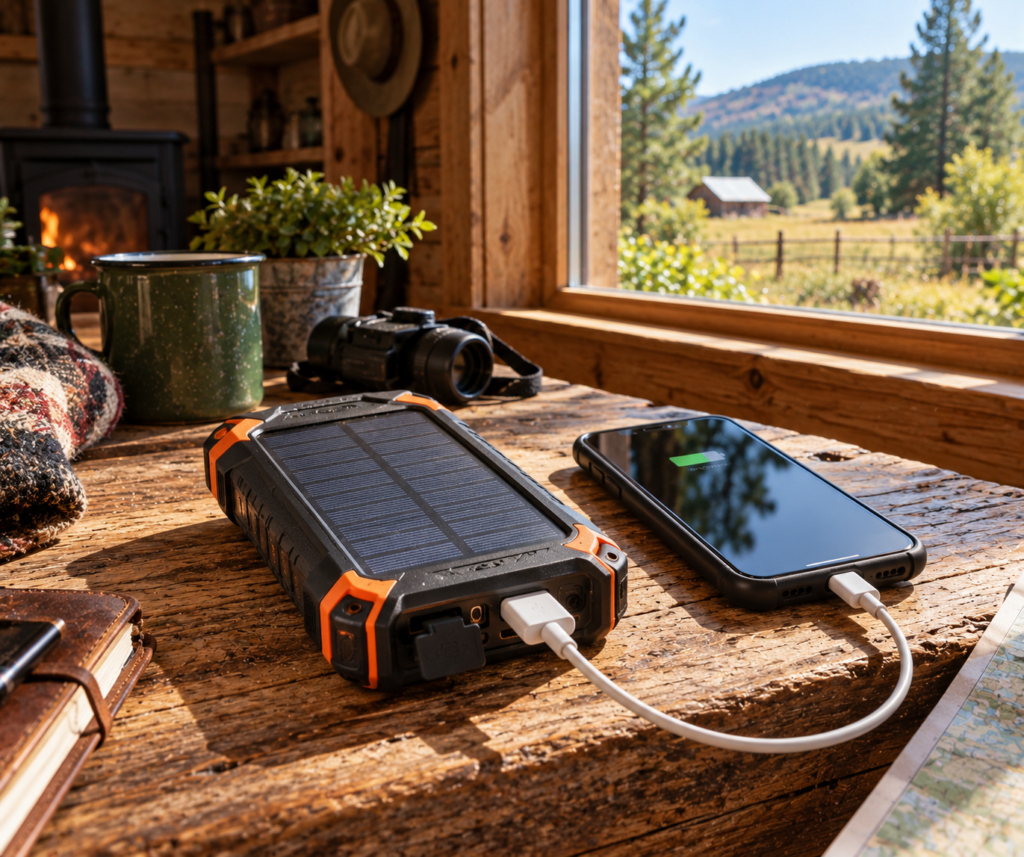
Off-grid power does not have to begin with a permanent install. A small solar power bank makes a compact store of energy for phones, radios, headlamps, GPS units, and anything else that takes USB. A 20,000 mAh solar power bank generally costs $25 to $35 and recharges a phone roughly four to five times from full, with no wiring, no charge controller, and no inverter.
Most include a small panel in the case, which is handy as a trickle charger but not as a primary one. Those built-in panels are commonly just one to two watts, so a fully dead bank can take two to three days of strong sun to refill. Park it in a south-facing window to keep it topped up between uses, and treat the built-in panel as maintenance, not the main event. To refill it quickly, you want the folding panel in the next step.
Step 7: Add a Folding Solar Panel for Faster Charging
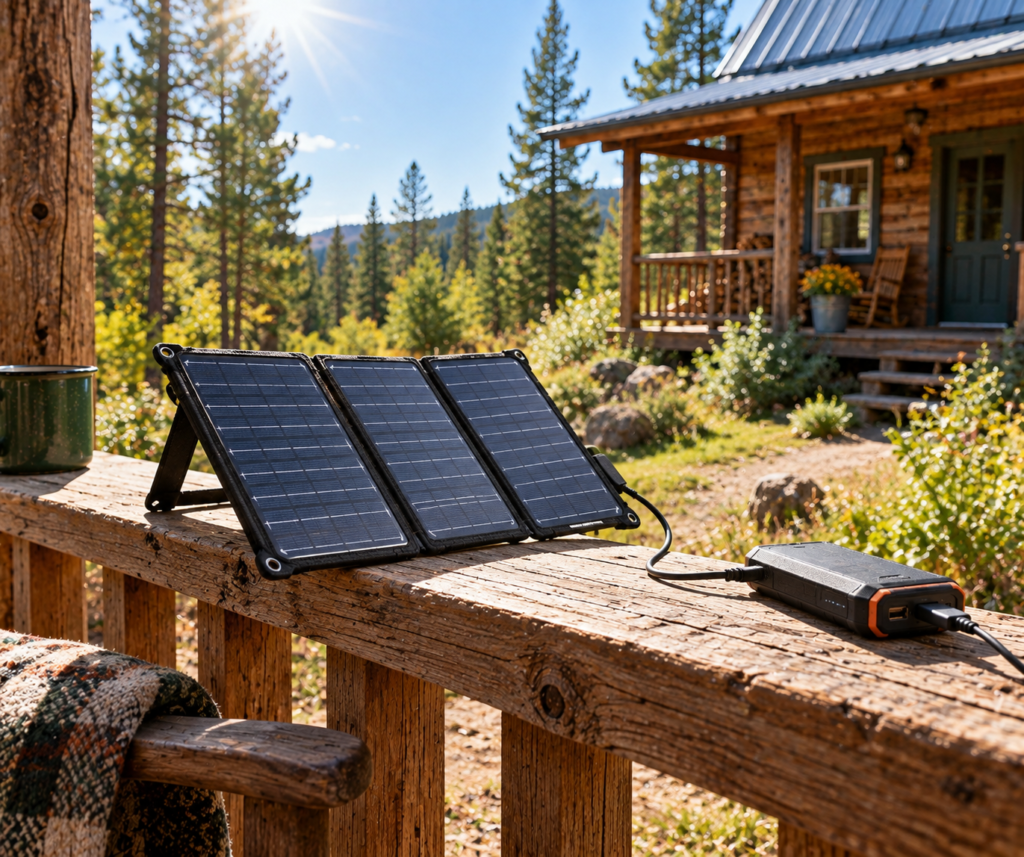
A dedicated folding solar charger does the real charging work. Two- or three-panel models commonly provide about 20 to 28 watts and cost roughly $30 to $45. In full sun they can deliver about two to three amps, similar to a wall charger, and they fold down to about the size of a paperback and weigh under a pound. Set one on a porch railing, fence, backpack, vehicle roof, or tree branch. The routine is simple:
- Charge the power bank with the folding panel during the day.
- Charge your devices from the power bank at night.
A short USB cable from panel to bank can cut recharge time from days to about three or four hours in good sun. Together, the power bank and folding panel build a portable off-grid charging system for less than $70, and it scales: add a second bank for more storage, or a bigger panel for faster fills.
Step 8: Set Up a Gravity Water Filter for Daily Drinking and Cooking Water
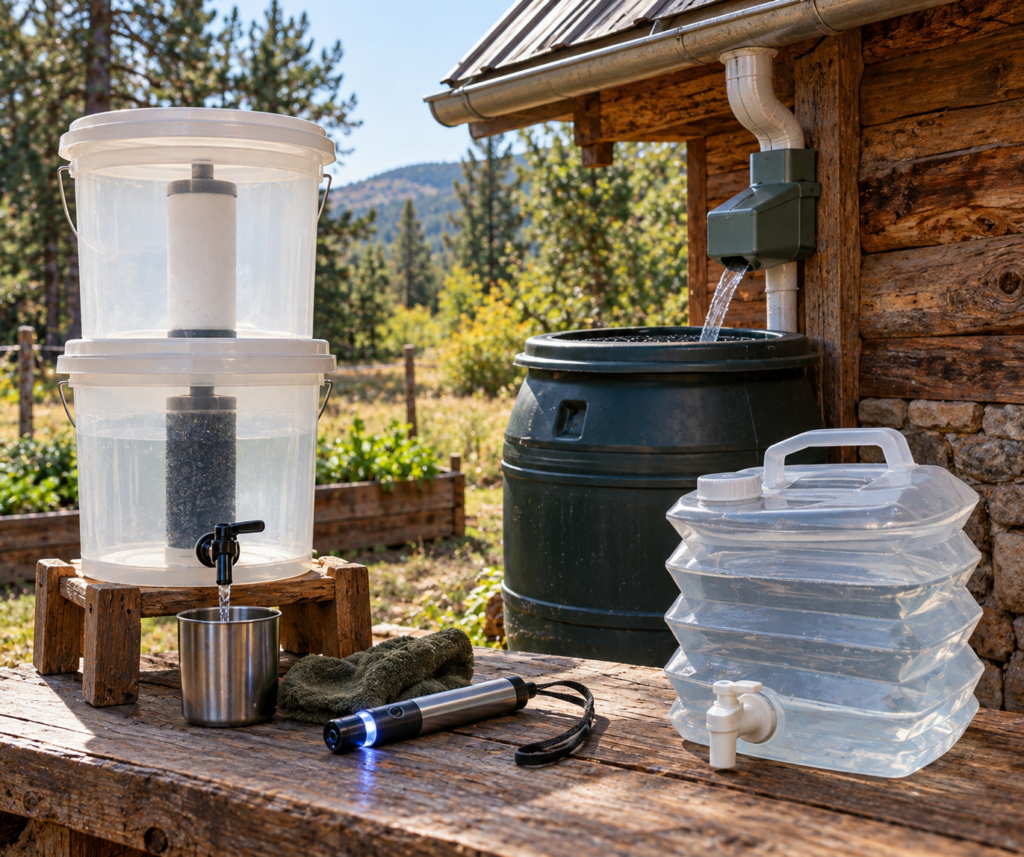
A gravity water filter is the practical, low-cost way to treat drinking and cooking water with no electricity, no plumbing pressure, no pumping, and no permanent install. A basic two-bucket system with ceramic and carbon elements runs about $35 to $45. Fill the top bucket, let gravity pull the water through the elements, and collect clean water in the bottom bucket. It is a great match for rain-barrel, creek, or pond water, and it keeps working with no battery in sight. Output is slow, commonly around a gallon per hour, but it is steady.
- Ceramic filtration: pore sizes around 0.2 to 0.5 microns capture sediment, bacteria, protozoa, and many parasites.
- Activated carbon: helps reduce chlorine, pesticides, and volatile organic compounds.
Element life ranges from roughly 3,000 to 6,000 gallons depending on how dirty the source water is, and replacement elements cost around $15. Maintenance is easy too: when flow slows, scrub the ceramic element with a Scotch-Brite pad to open it back up, which beats replacing the whole system. This is not whole-house plumbing. It is a compact, no-power answer for the water you actually drink and cook with, and off-grid that is usually the water that matters most.
Step 9: Carry a USB Water Purifier Pen for Water Away From Home
A portable UV purifier pen shines when you are away from the house: working across a big property, hiking, or filling a bottle from a source you do not fully trust. These rechargeable USB devices use ultraviolet light to treat bacteria, viruses, and protozoa. A typical unit costs about $30 to $40, treats water in around 90 seconds, and handles roughly 50 liters per charge. Just be clear on what it does and does not do.
- It can: treat invisible microorganisms in clear water, recharge by USB, and ride in a daypack.
- It cannot: remove dirt or sediment, clear cloudy water, or replace pre-filtration for muddy water.
Pre-filter cloudy water through a bandana, coffee filter, or similar cloth before using the pen, so particles do not shield microorganisms from the light. Think of it this way: a gravity filter is your daily household water, and a UV pen is your mobility. Keep both and you have a treatment option at home and a compact backup on the move.
Step 10: Add a Downspout Rain Diverter to Catch Free Water
Every roof is a rain collector you already own. A downspout diverter is the cheap little part that puts that water to work. It splices into a downspout, routes water into a barrel or tank, and sends the overflow back down the spout once the barrel is full. Compared to lifting the lid off an open barrel, a diverter keeps the system sealed, which means fewer mosquitoes, less algae, and less roof grit floating on top.
- Complete kits: a full set with diverter, hose, spigot, and a hole saw runs about $35 to $45.
- Diverter only: a simple diverter fitting alone can be $20 to $30 if you already have a barrel.
- Bring your own barrel: a food-grade drum or a clean trash can keeps the whole project cheap.
What to buy: a downspout diverter kit sized to your downspout, commonly 2 by 3 inch or 3 by 4 inch, about $25 to $45. Here is the honest part, and it is important: rainwater off a roof is not drinking water as it lands in the barrel. It carries dust, bird droppings, and roof debris. Use it as-is for the garden, animals, and cleaning, and run it through your gravity filter or UV pen before anyone drinks it. Catchment and treatment go hand in hand, which is exactly why they sit next to each other on this list.
Step 11: Keep Collapsible Water Storage Containers on Hand
Catching and treating water only helps if you have somewhere clean to keep it. Collapsible water containers fold flat when empty, so they store in almost no space, then hold a solid reserve when you need one. A BPA-free five-gallon jug with a spigot runs about $15 to $20, and stackable versions let you build a small water wall in a closet or truck bed.
- Plan the volume: a common rule is one gallon per person per day, so store several days’ worth at least.
- Store treated water: fill them with water you have already filtered, and label the fill date.
- Keep them cool and dark: heat and sunlight shorten how long stored water stays fresh.
What to buy: BPA-free collapsible or stackable containers, about $15 to $20 each. Rotate the water every few months, and you always have a clean cushion for an outage, a dry spell, or the day the well pump quits. Paired with the rain diverter and a filter, these containers close the loop: catch it, treat it, store it.
Step 12: Store a Ferro Rod and Reliable Tinder for Fire Starting
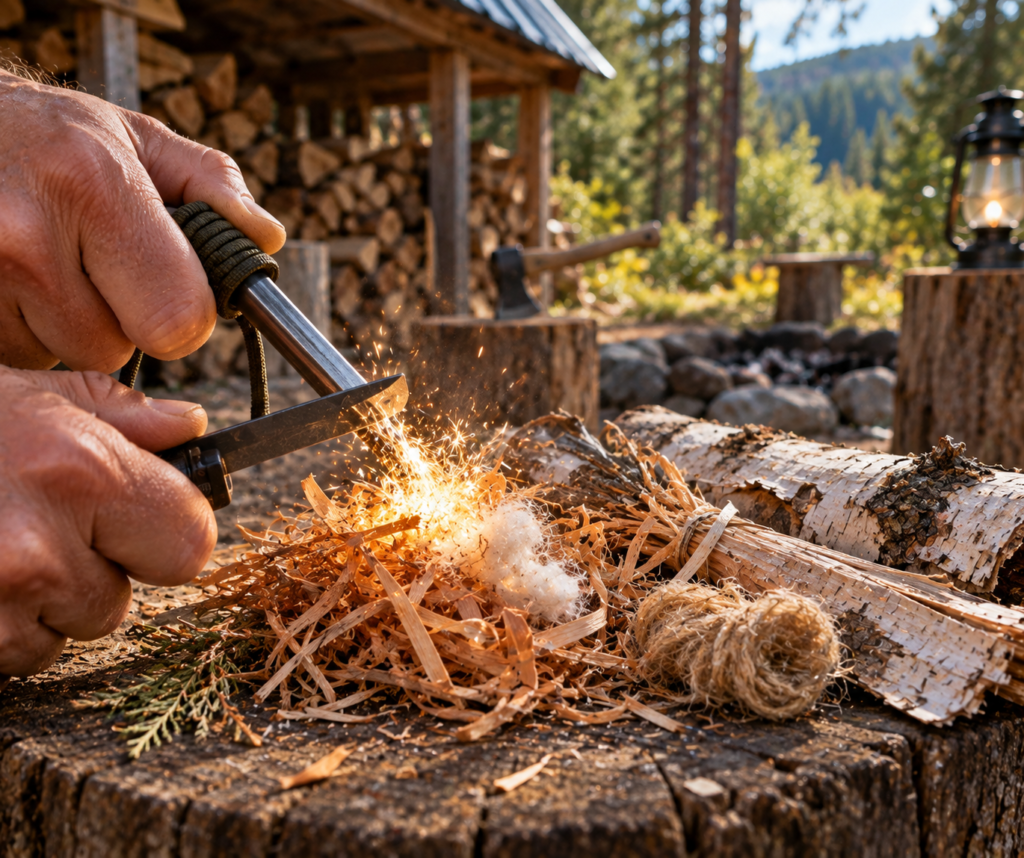
Matches get wet, lighters run dry, and a lot of electronic fire starters quit after a knock or a long sit in a drawer. A ferro rod just works. It throws very hot sparks in rain, snow, and wind, costs around $11, and can still fire after years in storage. That makes it a strong backup for trucks, bags, wood-stove areas, and emergency kits. The rod is only half the system, though. The real key is having good tinder ready before you strike a single spark.
- Dryer lint.
- Cotton balls coated with petroleum jelly.
- Birch bark.
- Fine cedar shavings.
Prep the tinder first, then scrape the rod so sparks land right in the material. The rod makes the ignition, but the tinder is what catches and holds the flame. For a few dollars, it is a durable long-term backup to matches and lighters, and it earns its place anywhere wood heat, outdoor work, or remote travel make fire a real need.
Step 13: Add a Hand-Crank Emergency Radio for Alerts and Backup Communication
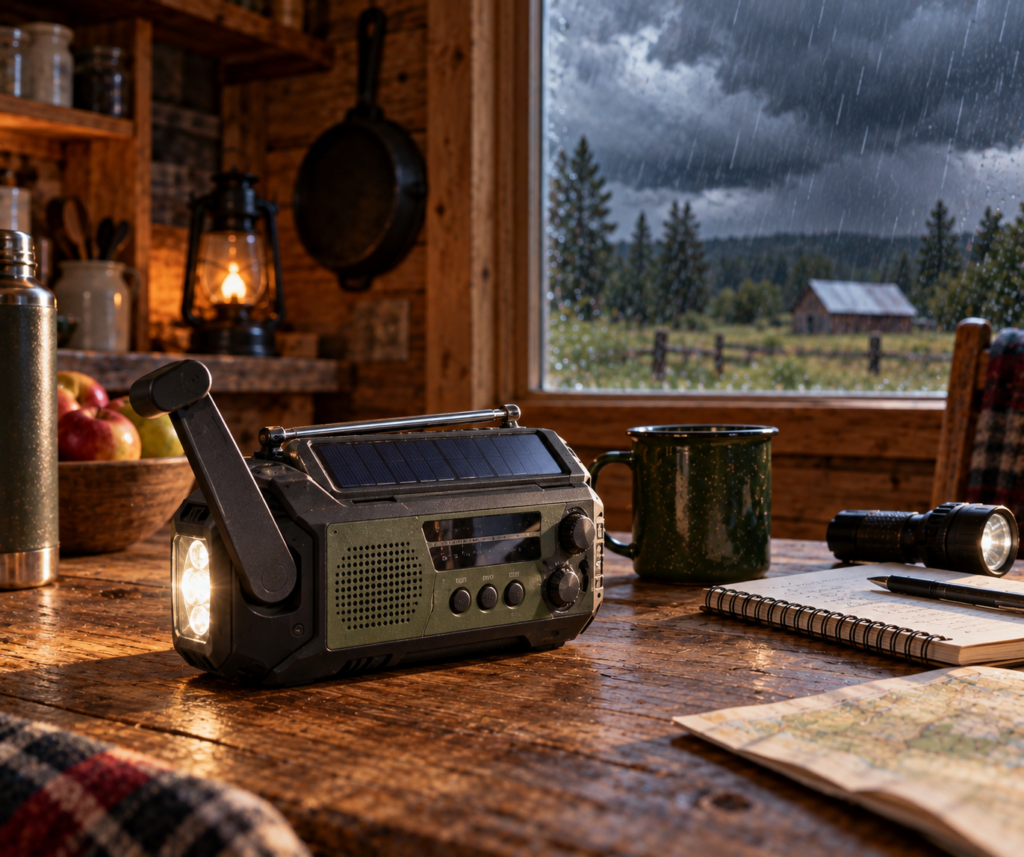
When a severe storm, wildfire, tornado, or long outage takes down cell towers and internet, information suddenly matters more than almost anything. A hand-crank emergency radio delivers weather alerts, AM/FM reception, a flashlight, and a little USB charging with no dependence on the grid. Most cost about $25 to $35. Many add a small solar panel, but the hand crank is the feature that counts, because it works when stored power and sunlight are both gone.
- NOAA weather alerts and AM/FM reception.
- A built-in flashlight and a USB output for small devices.
- A hand crank with a small solar panel as a supplement.
Crank charging is slow. About a minute of cranking might buy roughly three to five minutes of phone talk time, or 10 to 15 minutes of flashlight. That is not a power bank, but it can be enough for one urgent call. Keep the radio somewhere obvious, like the kitchen or main living space, so it is in your hand the moment service, internet, and power all go quiet.
Step 14: Keep Alligator-Clip Jumper Leads for Quick 12-Volt Connections
This is the little accessory that makes every other 12-volt tool easier to live with. Alligator-clip jumper leads have a ring terminal on one end for the battery and spring-loaded clips on the other for whatever you are powering. They cost around $8 and turn a battery into an instant, no-solder power source. Handy moments come up constantly off-grid:
- Testing a new setup: power a light or device straight from the battery to confirm it works before wiring anything permanently.
- Temporary lighting: clip on a 12-volt LED strip to light a workspace, then move it wherever you need it next.
- Small USB loads: run a 12-volt USB adapter to charge phones or headlamps without a fixed outlet.
What to buy: a set of alligator-clip leads with ring terminals, about $8, and grab a couple, since the clips do wear out. Two cautions keep it safe: mind the polarity, red to positive and black to negative, and use these for small temporary loads, not permanent installs or high-amp appliances. Clip on, use the device, clip off.
Step 15: Stash a Tire Plug Kit in Every Property Vehicle
A basic tire plug kit has nothing to do with solar power, but on remote land it can be the difference between a five-minute fix and a lost day. When the nearest tire shop is an hour of dirt road away, a nail in the tread does not have to strand you. A kit costs around $8 and seals a simple puncture without pulling the wheel off the vehicle.
- Ream the hole with the tool in the kit to clean and roughen it.
- Insert a sticky plug with the applicator, then trim the excess flush.
- Reinflate with a 12-volt inflator or a pump and check that the plug holds.
What to buy: a basic tire plug kit, about $8, and a small 12-volt inflator if the budget allows, since a plug is only as good as your ability to air the tire back up. One honest limit: a plug fixes tread punctures, not sidewall damage, and it is a get-you-to-town repair. Have the tire properly patched or replaced afterward. For long driveways, job sites, and rural roads, a plug kit belongs in the glove box of every truck and utility vehicle.
Step 16: Use This Under-$50 Off-Grid Shopping Checklist
These tools cover the practical building blocks of independent living without a major investment. Prices move around, so treat these as ballpark figures rather than quotes.
| Tool | About what it costs | What it covers |
| Carbon monoxide detector | About $20 | Fuel-burning safety |
| Digital multimeter | About $10 | Batteries, wiring, fuses, solar output |
| 12-volt LED strip lights | About $10 to $15 | Low-power cabin and shop lighting |
| USB-rechargeable headlamp | About $12 | Hands-free work after dark |
| Collapsible solar lantern | About $20 to $25 | Safe indoor and outdoor area light |
| 20,000 mAh solar power bank | About $25 to $35 | Stored USB power |
| Folding solar panel charger | About $30 to $45 | Direct solar USB charging |
| Gravity water filter | About $35 to $45 | Daily drinking and cooking water |
| USB UV water purifier pen | About $30 to $40 | Portable water treatment |
| Downspout rain diverter kit | About $25 to $45 | Rainwater catchment |
| Collapsible water storage | About $15 to $20 each | Clean water reserve |
| Ferro rod fire starter | About $11 | Durable fire-starting backup |
| Hand-crank emergency radio | About $25 to $35 | Alerts, radio, emergency charging |
| Alligator-clip jumper leads | About $8 | Quick temporary 12-volt connections |
| Tire plug kit | About $8 | Fast puncture repair on remote roads |
All in, the 15 tools land around $325 to $340. That is enough to build real capability in the areas that cause the biggest off-grid problems: darkness, uncertain water, dead devices, missed warnings, electrical faults, fire, and carbon monoxide. You do not have to buy it all at once, which brings us to the last step.
Step 17: Prioritize Purchases Based on Your Off-Grid Setup
If you cannot buy everything today, start with the tools that answer the risks you already have in front of you.
- Any flame, heater, stove, or generator near living space: buy the carbon monoxide detector first.
- Batteries, solar panels, or 12-volt lights: buy the multimeter next, and a set of jumper leads to go with it.
- Lighting is your biggest gap: start with a rechargeable headlamp, 12-volt LED strips, and a solar lantern for indoor light.
- You need charging away from an outlet: pair a folding solar panel with a 20,000 mAh power bank.
- You collect rainwater or rely on a creek or pond: add a rain diverter and storage to catch it, a gravity filter for daily use, and a UV pen for mobile backup.
- Storms, remote roads, or shaky communications: keep a hand-crank radio for weather alerts and a tire plug kit in every vehicle.
Come back to where we started: the ten-dollar tool that saves the afternoon. The best off-grid gear is rarely the most expensive gear. It is the equipment that works every time, is easy to replace, and solves a real problem the day power, water, roads, weather, or communication turn unreliable. Buy for the problems you actually have, keep it where you will find it, and let it earn its keep.
Frequently Asked Questions About Low-Cost Off-Grid Tools
What is the most important off-grid item to buy first?
A battery-powered carbon monoxide detector should come first if you use fuel-burning heaters, stoves, lamps, or generators near living areas. It warns you about a colorless, odorless gas that can be fatal in enclosed spaces, and no other tool covers that risk.
Can I use a solar lantern safely indoors?
Yes. A rechargeable solar lantern uses an LED, not a flame, so it produces no smoke, fumes, or carbon monoxide, which makes it far safer indoors than candles or a kerosene lamp. Charge it in a sunny window or by USB so it is ready before an outage.
Is rainwater from a downspout safe to drink?
Not as it comes off the roof. Rainwater picks up dust, bird droppings, and roof debris, so it is fine for the garden, animals, and cleaning, but it needs treatment before drinking. Run it through a gravity filter or treat it with a UV pen first.
Do I need an inverter to use LED lights in an off-grid cabin?
No. Twelve-volt LED strip lights run directly from a 12-volt battery, so you avoid the inverter, the AC fixtures, and the energy lost converting battery power to 120-volt AC.
Can a solar power bank charge itself from its built-in solar panel?
Yes, but the small built-in panel is slow and better suited to trickle charging or holding a charge. A dedicated folding solar panel recharges the bank much faster in strong sun.
What can a gravity water filter remove?
A two-bucket system with ceramic and activated carbon elements reduces sediment and captures bacteria, protozoa, and many parasites, while the carbon layer helps reduce chlorine, pesticides, and volatile organic compounds.
Does a UV water purifier pen remove mud or sediment?
No. A UV pen treats microorganisms but does not remove visible particles. Pre-filter cloudy water through a bandana, coffee filter, or similar cloth before UV treatment.
Why should an off-grid property have a multimeter?
A multimeter quickly checks battery voltage, solar-panel output, fuse continuity, and wiring, so you can tell whether a problem is a dead battery, a blown fuse, a loose wire, or a lack of charging power instead of guessing.