The first purchase should follow the weakest entry, not the biggest bundle.
At dusk, a side door may look closed yet open with a firm push. If that door faces an unlit passage, someone could try it without being seen. A reachable window with a faulty lock presents a similar problem. Before choosing equipment, check each accessible entry: does it latch securely, and would an attempt there be noticeable?
Repair the opening first. A camera can record an approach, and a sensor can report an opening, but neither makes a loose latch hold. Once doors and windows close and lock reliably, equipment choices become clearer: lighting can expose a hidden approach, while sensors or cameras can cover entries that still need monitoring.
Find the openings that need attention first
-
List reachable openings
Walk around the home and note exterior doors, garage-to-house doors, and windows reachable from the ground, a deck, or a shared walkway. Include upper-floor windows if a fixed roof or stair landing makes them easy to reach.
-
Check whether each one closes securely
Look for doors that do not latch without a push, loose strike plates, damaged frames, and sliding doors that lift or rattle in their tracks. At windows, check that locks engage and frames are sound. A defect that prevents secure closure comes before adding a sensor.
-
Notice where an attempt could go unseen
Compare each opening’s view from the street and neighboring homes. Fences, dense shrubs, deep porches, and dark side paths can give someone time to work unnoticed; an exposed front window may be less urgent than a weak rear door.
-
Protect escape routes
Identify bedroom windows and doors used for emergency exit. Any security measure planned for them must still allow occupants to get out quickly from inside, without searching for a key or tool.
-
Write a three-item priority list
Put openings with both an easy-to-exploit weakness and a concealed approach at the top. Record the specific fix beside each one, such as repairing a latch or clearing a blocked sightline, before considering detection equipment.
Strengthen the whole door assembly
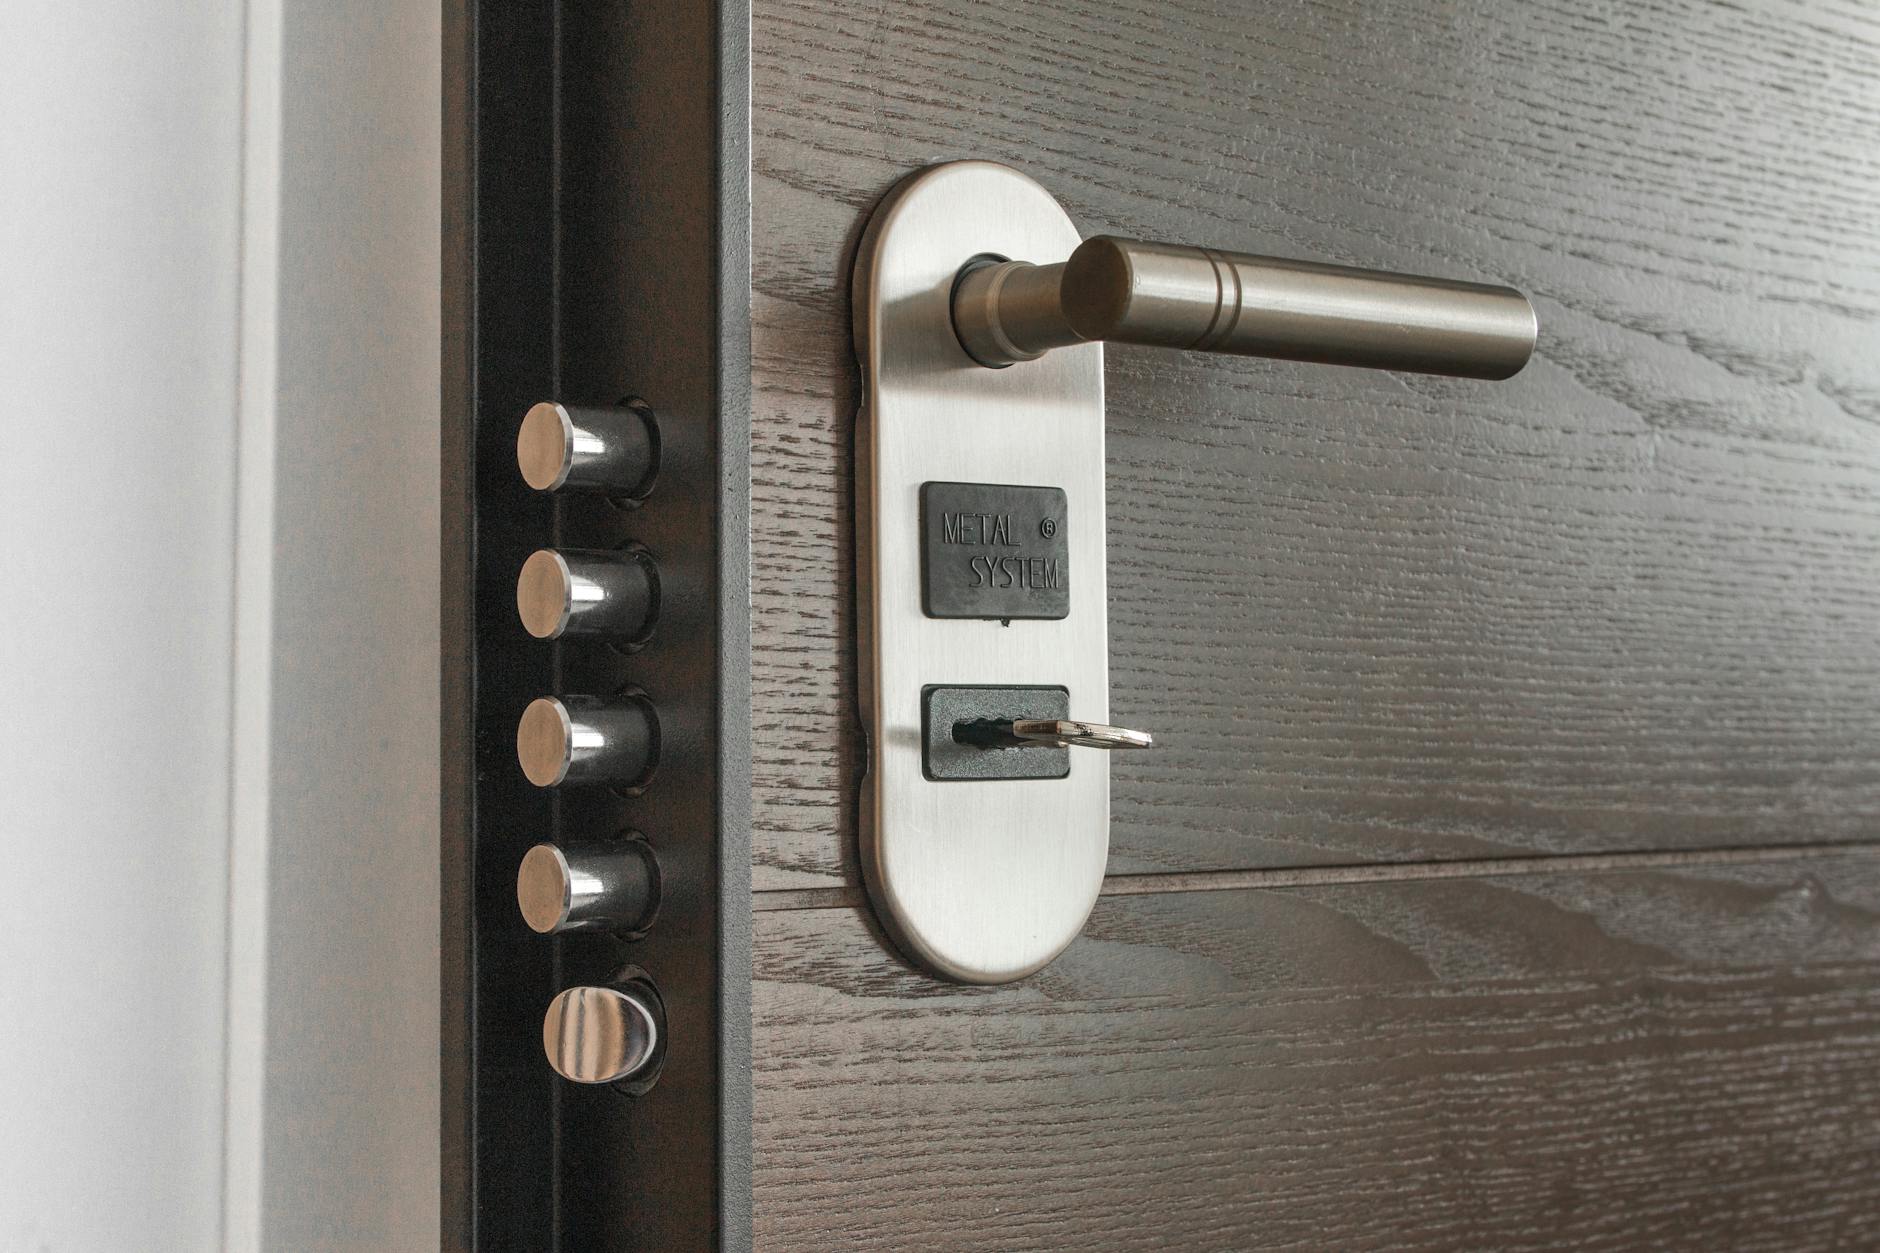
A strong deadbolt cannot compensate for a weak frame. Inspect the door, frame, deadbolt, and strike plate as one assembly: the door should close squarely, the bolt should extend fully into the strike opening, and the jamb should not shift under firm hand pressure. If the bolt catches or needs force to turn, correct the alignment before replacing the lock.
Decide what needs fixing
- Damaged door or frame: Repair a split jamb, loose hinges, or deteriorated door before adding stronger hardware. Screws cannot reinforce wood that no longer holds them securely.
- Weak strike attachment: Short screws may secure the plate only to the jamb. Where the wall construction allows it, longer screws that reach the framing can improve the connection. Drill pilot holes and avoid overtightening, which can distort the jamb or pull the strike out of alignment.
- Worn or low-quality lock: A certified Grade 2 deadbolt is a sound choice for many homes. Grade 1 hardware is tested to more demanding strength and durability standards and may be worth considering for a heavily used entry or a lock replacement. The Grade 1 and Grade 2 comparison matters less when the bolt does not engage properly or the strike is poorly anchored.
After any repair, close the door normally and turn the deadbolt without lifting or pulling the door. A full, smooth throw confirms that the reinforced parts still work together.
Treat sliding doors and garages differently
A sliding glass door does not rely on a deadbolt and strike plate. Its small latch may be easy to defeat, and a loose panel may lift in its track. Check that the door closes squarely, then add a sliding-door lock or properly fitted track bar that occupants can remove quickly from inside. If the panel can lift, ask a qualified installer to adjust the rollers or fit anti-lift protection without making the door hard to operate.
A garage door has a different weak point: its emergency release must remain usable if the opener fails. Keep the garage door closed, check that its lock and opener work as intended, and use a compatible release shield if the release can be reached from outside. Secure the door between an attached garage and the home as carefully as any other exterior door.
Never tie off or disable a garage emergency release. After adding any door hardware, confirm that occupants can open the entry from inside without tools.
Secure windows reachable from outside
A window does not need to be at ground level to be vulnerable. Check openings beside decks, low roofs, fire escapes, and climbable structures, then look for loose latches, damaged frames, or sashes that can be lifted from outside. Repair those faults before adding an alarm.
Keeping a window shut and slowing entry through its glass are different jobs. A sound lock or properly fitted window stop resists opening the sash. Security film can hold shattered glass together and delay passage, especially when its edges are secured to the frame; it does not make the glass unbreakable. Contact sensors report that a window has opened, while glass-break detection addresses a different route of entry. Neither physically reinforces the opening.
Basement windows deserve particular attention because they may be concealed from view. A window holding an air conditioner also needs a secured sash, a properly supported unit, and closed gaps around its panels. Check whether either opening is a required emergency exit before fitting a stop, grille, or other barrier.
An egress window must still open from inside when needed. Choose any grille or guard with an interior quick release that works without a key, tool, or special knowledge. Confirm local egress requirements before restricting how far the sash opens.
Add an alarm around likely entry routes
An alarm adds warning after someone opens or enters a protected area; it does not make a door, window, or pane harder to force. Start with the routes identified as reachable and poorly visible, rather than buying a sensor for every opening.
- Control unit: Place the hub where its alarm can be heard but cannot be easily reached from an entry door. Check that it has battery backup; cellular backup is useful if internet service fails or is cut.
- Opening contacts: Fit contacts to the main entry door and other plausible routes, such as a side door, patio door, or accessible window. A contact reports when the door or window separates from its frame. It may not report someone breaking a pane and climbing through without opening the sash; the distinction is explained in how window contacts respond to broken glass.
- Motion detection: Use an indoor motion sensor to cover a likely path from an entry point, not to replace contacts everywhere. Follow the sensor’s mounting guidance, and test it with pets, heating vents, and direct sunlight in mind to reduce false alarms.
Decide who receives an alert before relying on the system. Self-monitoring requires someone to notice a phone notification and act; professional monitoring can contact designated people or emergency services under its stated procedures. Test each contact, motion zone, siren, and notification after installation, then repeat those checks periodically.
Use cameras to answer specific questions
Before adding a camera, decide what its footage must show: someone approaching a door, which route they took, or what happened at the threshold. A wide view of the yard may capture movement without showing a usable face or the entry itself. Check camera placement along entry routes from the camera’s actual mounting height, including spots hidden by porch posts, parked vehicles, or an open door.
Test at night, not just at installation. Walk the approach after dark and review the recording, rather than relying on a bright-looking live view. A distant subject may be too small to identify; infrared glare from nearby walls or glass can obscure a face. Lighting can help, but it should illuminate the approach without shining straight into the lens.
Ask what happens when service fails. An internet outage may interrupt cloud uploads while a powered camera continues recording to local storage. A power outage can stop the camera, recorder, or network equipment unless each component needed for recording has backup power. Confirm both the storage path and the power source before counting on outage footage.
For a long approach, the useful question may simply be is someone coming? A driveway alert matched to the distance and terrain can provide earlier notice than another camera aimed at a tiny figure far from the house.
Check what survives an outage
A backup battery keeps equipment powered; it does not guarantee that an alert reaches anyone or that video keeps recording. Check each function separately before relying on it during a storm or service outage.
Arrange a test with the monitoring provider first to avoid a false dispatch. With the alarm armed, disconnect mains power as the manufacturer instructs, then open a protected door. Confirm that the hub receives the sensor signal, the siren sounds, and the provider receives the alarm—not merely that the hub’s battery indicator stays lit. Check whether the sensors and siren have their own working batteries.
Next, test connectivity. If the router loses power, Wi-Fi-dependent alerts may stop even while the hub runs. Verify that cellular backup is active and that monitoring continues without home internet. Finally, check cameras and the recorder: a camera with local storage still needs power, while a network recorder may need both backup power and a working local network. Review the saved footage after the test; a live-view notification alone is not proof of recording.
Walk the entries again
-
Retrace the approaches
Check each door, reachable window, sliding panel, and garage entry. Does the installed equipment address the exposure that prompted the purchase?
-
Test every closure
Confirm locks engage easily and added bars or pins hold securely without blocking emergency exits.
-
Trigger the alerts
Open protected entries and cross the motion detector’s intended path. Confirm the right alert reaches the household.
-
Inspect night footage
Review saved video from each important approach. A notification is less useful if the recording cannot show what happened.
-
Record what remains exposed
Fix an uncovered entry before adding equipment that does nothing for that opening.
The strongest setup is not the longest equipment list. Each purchase should address a known entry vulnerability, and the second walk-through should prove that it does.