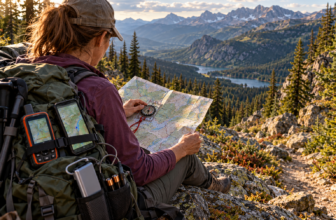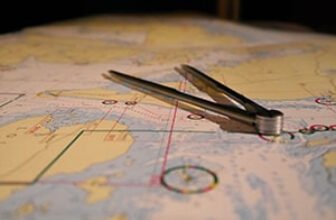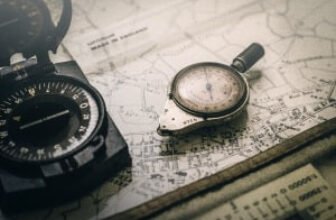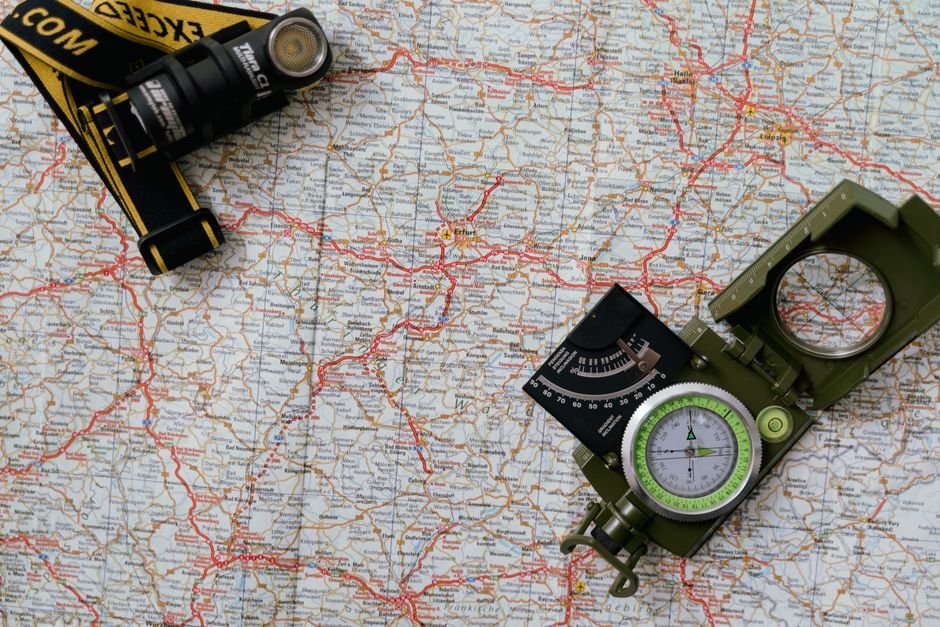
Batteries die. Cell phones lose connectivity. Even satellite service can be unpredictable. That is the argument for keeping a map and compass in your pack, because those two tools keep working when everything with a screen quits. A compass needs no batteries, works with any map, and even works without one.
This guide covers the beginner version of land navigation: orienting a map, taking a bearing, following that bearing on the ground, and rechecking your work as you move. Everything here uses basic baseplate compass skills that pair with a paper topographic map.
Why Map and Compass Skills Still Matter
Phones handle most everyday navigation, so people rarely think about it until the phone fails. The failure points are ordinary: a dead battery, a lost signal, a wet screen, a cracked case. Backup power helps, but backup power is one more thing that can run out at the wrong moment.
A compass and a paper map sit outside that chain of dependencies. They weigh almost nothing, they need no subscription, and they do not care whether the grid is up. That makes them a natural fit for hikers, campers, and preppers who want a navigation option during a storm, a power outage, or a trip into country where service drops out.
What Belongs in a Basic Navigation Kit
You do not need much to get started, but the few items you carry should be chosen deliberately.
| Item | What it does for you |
|---|---|
| Baseplate compass | The clear base lets you lay the compass directly on the map and still see the map underneath while you line up the direction of travel arrow. |
| Adjustable declination compass | Lets you set the correction between magnetic north and the map’s north once, instead of doing the math on every bearing. |
| Topographic map of your area | Works directly with a compass and shows the terrain you will actually cross between two points. |
| A dry place for the map | Paper tears and smears when it gets wet. A case or a zip bag keeps the map readable for the whole trip. |
Getting to Know the Parts of a Compass
The floating needle inside a compass is magnetized, and the red end always points north. Every other feature on the tool exists to transfer that simple fact onto a map and then onto the ground.
- Direction of travel arrow. The long arrow on the baseplate that shows which way you intend to walk.
- Rotating bezel. The numbered ring you turn to set a bearing or to line the compass up with the map.
- Magnetized needle. The red end points north. Hold the compass level so the needle swings free.
- Clear baseplate. The transparent base lets you position the compass edge along a line drawn on the map.
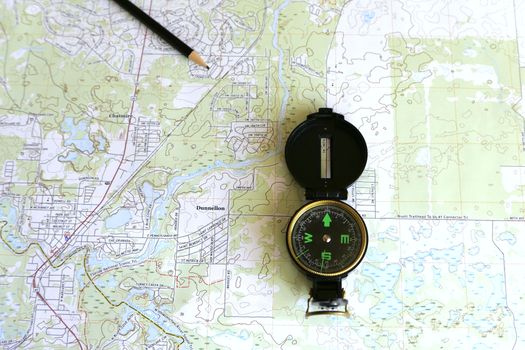
Step 1: Orient the Map to the Real World
Orienting a map means turning it until the map’s north lines up with actual north on the ground. Once it is oriented, what you see on paper matches what you see around you, and every other step gets easier.
Lay the map out flat or hold it horizontally. Place the compass on top of the map with the direction of travel arrow pointing toward the top of the map. Then turn the map and the compass together until the red compass needle aligns with the north-south grid lines printed on the map, with the red end of the needle pointing to the top of the map.
On uneven ground, set the map and compass down on a flat, level surface and step back to check it. A flat rock, a fallen log, or the lid of your pack works as a table when the ground is sloped or covered in tall grass.
Step 2: Take a Bearing From the Map
A bearing is simply the direction to your destination, expressed as a number you can follow. Taking one from the map is a short, repeatable process.
- Mark your current position on the map, then mark your intended destination.
- Draw a straight line between the two points.
- Lay the map flat and set the compass on top of it, with the edge of the baseplate along that line and the direction of travel arrow pointing toward your destination.
- Rotate the bezel until its north marking lines up with the map’s north-south grid lines. The grid lines on the paper are your reference here, not the needle.
- Read the number on the bezel at the direction of travel arrow. Write it down. That is your bearing.
Write the number on the map margin or in a notebook. It is easy to misremember a three-digit number after a mile of walking, and a written bearing gives you something to check yourself against.
Step 3: Follow the Bearing on the Ground
Now the map goes back in your pocket for a moment and you work with the compass alone.
- Lift the compass off the map and hold it horizontally in your hand, flat and level.
- Turn your whole body, not just the compass, until the red end of the needle lines up with the red north marking inside the bezel.
- Look where the direction of travel arrow points. That is the direction you walk.
Pick a landmark in that direction, such as a tree, a boulder, or a bend in a trail, walk to it, and then repeat the process. Working landmark to landmark keeps you on the bearing instead of drifting off it while you watch your feet.

Step 4: Recheck as You Walk
Bearing work is not a one-time event. Stop every so often, lay the map flat again, and reorient it with the compass. Confirm that your position on the map matches what you see around you.
If the terrain does not match the map, stop and fix it before you go further. Walking a wrong bearing for another mile only makes the correction harder.
Getting Your Map and Compass to Agree on North
A compass points at magnetic north. A map is drawn to its own grid north. Those two do not always line up, and that gap is why some compasses are sold as adjustable declination models. If yours is adjustable, you set the correction once and the compass handles it for every bearing afterward.
Check the map’s margin or legend for its declination information, and check your compass instructions for the adjustment procedure. The USGS guide on using a compass with a topographic map covers how to get your map and compass to face the same direction, and it is a sensible next step once the basics feel comfortable.
Practice Before You Need It
Navigation is a physical skill, and the backcountry is a bad classroom. Start somewhere familiar: a local park, a trail you already know, a large property. Take a bearing to a landmark you can see, walk it, and check the result. Then try a short route with two or three legs.
Practice in daylight and good weather first, then repeat the same drills in rain or at dusk. The skills transfer, and so does the confidence that comes with them.

Common Beginner Mistakes
- Holding the compass at an angle. The needle needs to swing freely, so keep the compass level.
- Forgetting to orient the map before taking a bearing from it.
- Turning only the compass instead of turning your whole body when following a bearing.
- Skipping the written bearing and trying to keep the number in your head.
- Ignoring declination and then wondering why the bearing sends you off line.
Building a Kit Worth Carrying
For a first compass, a clear baseplate model is the practical choice because it works on top of the map. A model with adjustable declination saves arithmetic if you travel between regions. Pair it with a current topographic map of the area you actually visit, keep both in a dry spot in your pack, and replace the map when it gets torn or outdated.
That small kit takes up almost no space and never needs charging before a trip. Adding a second compass as a backup is an inexpensive way to avoid a single point of failure, and a spare lives comfortably in a glove box or a go bag.
Frequently Asked Questions
Do I need an expensive compass to learn navigation?
No. A basic baseplate compass with a clear base, a rotating bezel, and a magnetized needle is enough to learn every skill in this article. The clear base is what lets you lay the compass on a map and line it up with your route. Upgrade to a model with adjustable declination later if you want fewer steps.
Does a compass work without a map?
Yes. A compass works on its own to keep you moving in a consistent direction, which is useful when you simply need to hold a heading. A map is what turns that heading into an actual route with a known destination, distance, and terrain. Carrying both gives you far more than either tool alone.
Which end of the compass needle points north?
The red end. The floating needle is magnetized, and the red side always swings toward north. When you follow a bearing, you turn your body until the red end of the needle lines up with the red north marking inside the bezel. Once those two line up, the direction of travel arrow shows where to walk.
What should I do if my compass and map disagree about north?
That gap is what declination adjustment is for. Check the declination information printed on your map and the instructions for your compass. If your compass has an adjustable declination feature, set it once for the area. If it does not, you will need to account for the difference yourself on each bearing.
How do I find my exact position on a map with a compass?
Finding your position from scratch is a separate skill from taking a bearing to a destination, and it takes practice to do well. The USGS guide on using a compass with a topographic map is a solid next step because it walks through more than one method. Practice it somewhere you already know.