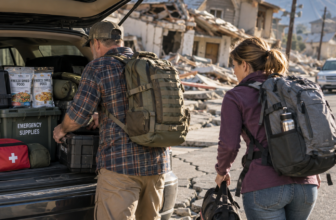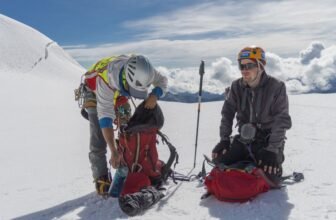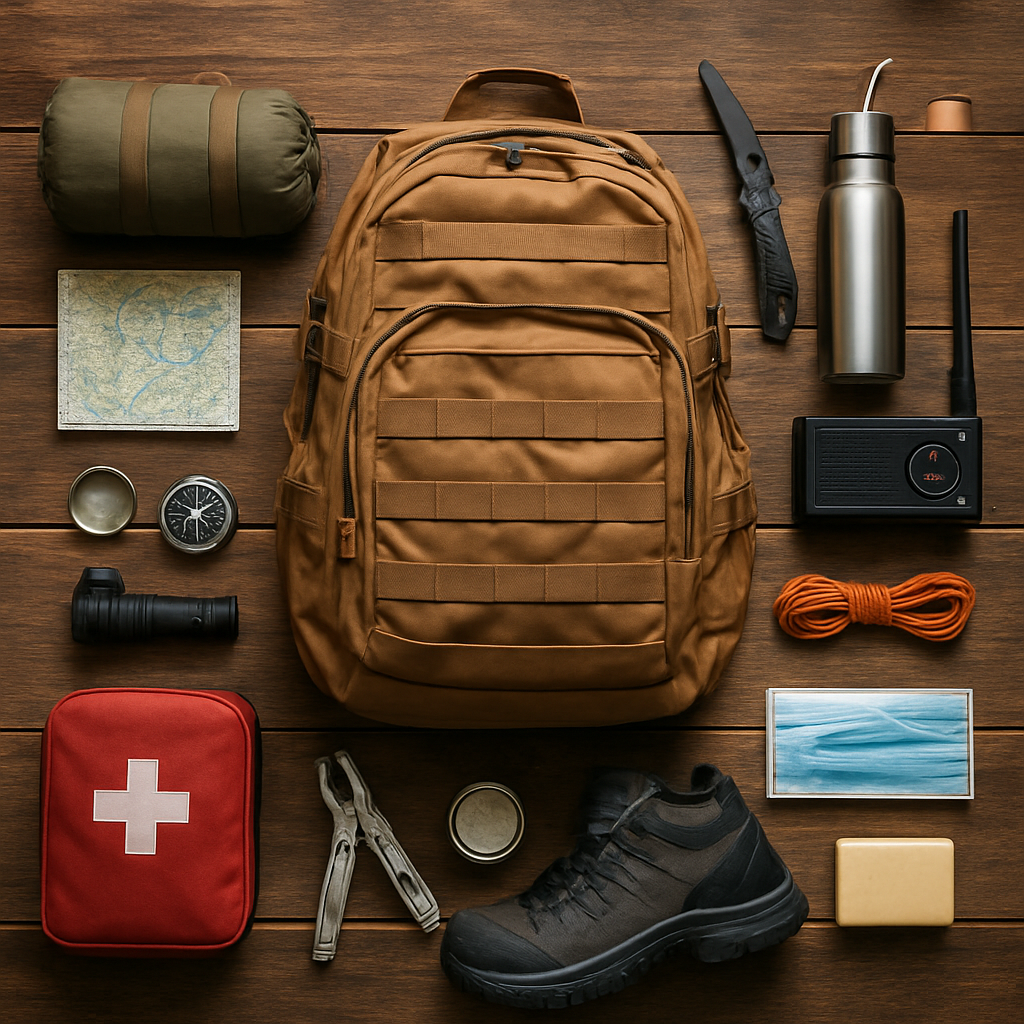
Most emergencies do not announce themselves. The power blinks out, a road floods, a wildfire warning lands, and suddenly you have minutes, not hours. A bug out bag is preparedness you can grab on the way out the door, calm instead of scrambling. This guide walks you through building one that fits your life: pick your scenarios, choose a pack that carries well, and load a core survival system that balances weight, reliability, and budget. If you want a kit you can trust, here is how to build it.
Here is what we will cover:
- Define your scenarios and set a 72-hour baseline
- Choose a pack that fits and pack it in zones
- Build the core: water, food, shelter, and warmth
- Cover health, navigation, signaling, and power
- Personalize, test, and keep it maintained
Let’s pack it.
1. Define Your Scenarios and Baseline
Set your scope before you touch any gear. A clear scenario keeps you from chasing every gadget and ending up with a bag too heavy to rely on. Start with a 72-hour baseline, then tailor it to where you live and who you are packing for.
Four decisions shape the whole kit:
- Duration: start with a 72-hour baseline, and plan longer only if your risks truly demand it.
- Environment and climate: name the settings you actually expect, and adjust for season and weather.
- People and pets: count everyone, note medical needs, and add pet items where they apply.
- A scenario baseline: let it drive your gear choices and a realistic weight target.
There is a trade-off here: more gear adds redundancy but costs you weight and mobility. A modular setup with labeled compartments keeps you flexible, so you can simplify or expand without rebuilding the whole kit. Ready.gov’s preparedness kit guidance is a solid baseline reference.
3 Steps To Set Your Baseline:
- Set the duration. Start at 72 hours, and extend only if your situation calls for it.
- Map who and where. Count people and pets, note medical needs, and pick your likely environments.
- Set a weight target. Translate all of that into a load you can actually carry, then pack modular so you can flex.
Picture two adults, a teenager, and a small dog in a city apartment. They set a 72-hour baseline, choose a 40 to 65 liter pack, allocate water and calories per person, and add a lightweight tarp, a compact stove, and a basic first-aid kit. Then they carry it on a short walk to feel the weight and shift the heavy items closer to the spine.
Key takeaway: Start with a 72-hour baseline and tailor it by environment and group size. Keep the kit modular so you can adapt fast without starting over.
2. Pick the Right Pack and Pack It in Zones
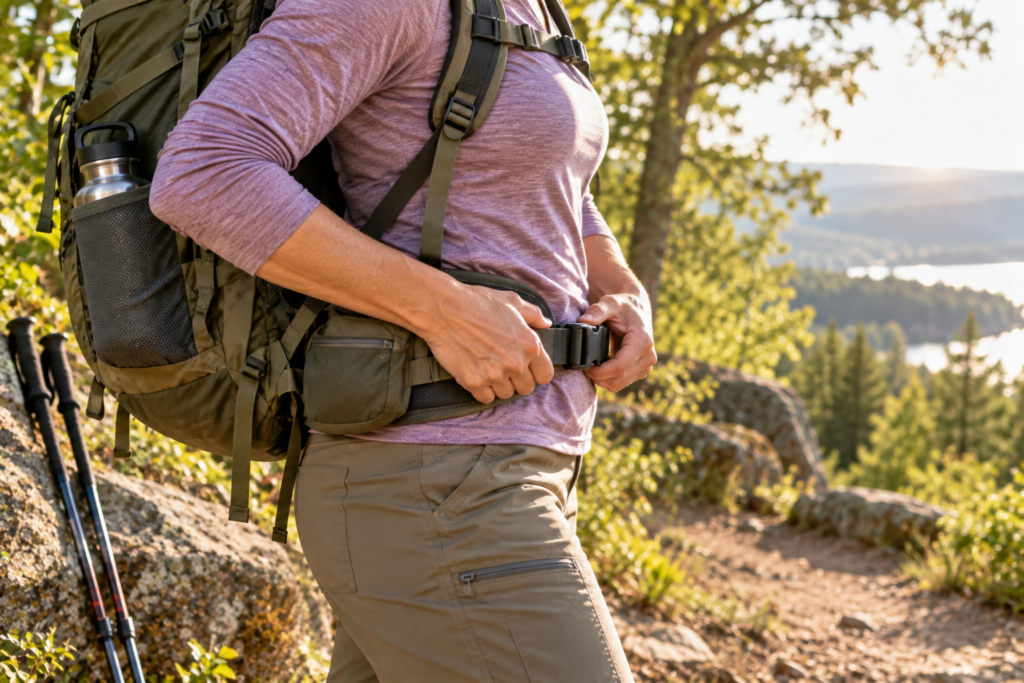
Picking the pack is not cosmetic, it is structural. If the bag rides wrong on your shoulders or throws off your balance, you will not reach critical items when it counts. Focus on three fit factors: torso length, hip belt coverage, and how the frame transfers load. Capacity matters, but weight distribution and quick access matter more. Size for a realistic load, test the fit with a full 20 to 25 pound carry, and check that the hip belt stays level when you walk.
A few packs worth a look, each with a different strength:
- Osprey Atmos AG 65: a comfortable, well-ventilated full-size carry.
- Mystery Ranch 3 Day Assault Pack: rugged, with fast access to the main compartment.
- 5.11 Rush72: a budget-friendly, MOLLE-heavy organizer.
- Deuter Aircontact PRO 65+10: high capacity for longer trips or multi-person loads.
4 Steps To Pack in Zones:
- Zone A, instant grabs. Use the top pocket for a flashlight, map, and emergency contact card.
- Zone B, core near the spine. Keep water filtration, a small stove, and first-aid basics on the back panel.
- Zone C, outer pockets. Stash food bars and a compact shelter where the lighter items ride.
- Balance the load. Center heavy items over your hips, keep light items outward, and let the hip belt carry its share.
One urban prepper runs a stairwell drill with an Atmos AG 65: grabs up top, the stove and filter and first-aid on the back panel, food bars and shelter in the outer pockets, with the heavy filter closest to the spine. Faster draws to essentials, steadier movement through tight corridors, less fatigue.
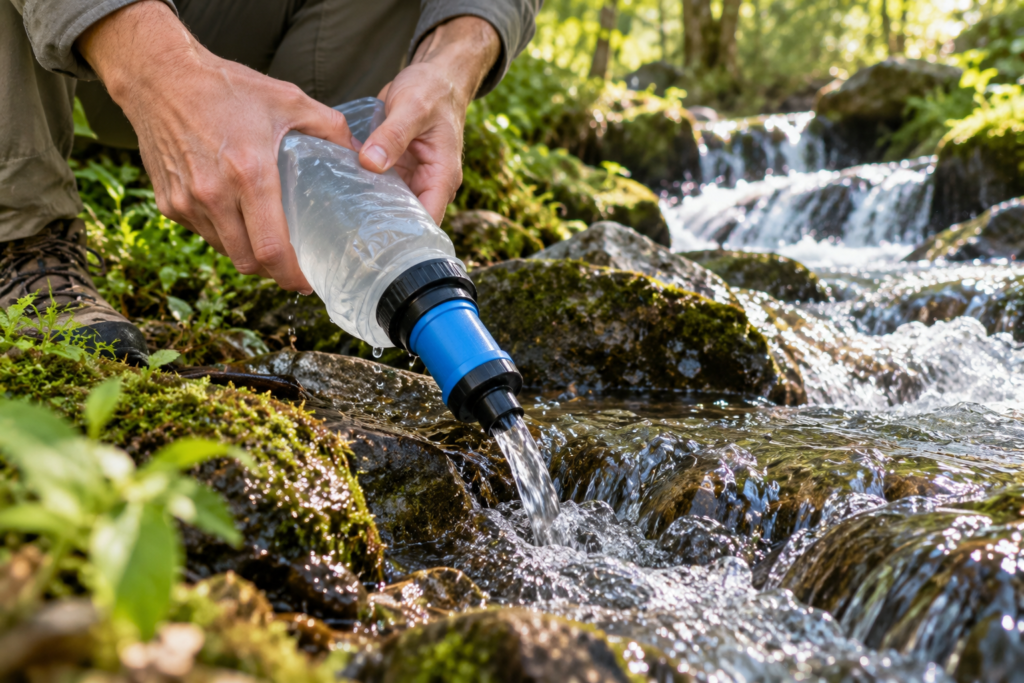
Our pick for grab-and-go water: a 4-pack of personal water filter straws puts safe drinking water in every bag, car, and kit — see why four beats one.
Key takeaway: Prioritize fit and quick access over sheer capacity. Test your loaded bag in the exact spaces you move through: stairs, hallways, and the vehicle trunk.
3. The Core Survival System: Water, Food, Shelter, and Warmth
The spine of any bug out bag is the survival quartet: water, calories, shelter, and warmth. Aim for a repeatable setup that gives fast access to all four while keeping weight in check, and treat it as modular so you can swap a component without tearing the kit apart.
Water
Plan for drinking and cooking both, and put filtration first.
- Primary filter: a LifeStraw Personal for quick, everyday filtering.
- Backup: purification tablets or the boil-water method when filtering isn’t possible.
- Budget: plan 3 to 4 liters per person per day for drinking and cooking.
Food
Calories first, shelf-stable second. Favor high-calorie, low-weight options that need no refrigeration.
- Main calories: Mountain House entrees and Wise Company kits, dependable and easy to rotate.
- Snacks: nuts, dried fruit, and energy bars to smooth out the energy dips.
- Rotation: check expiry every 6 to 12 months and swap perishable items ahead of time.
Shelter and Warmth
Lightweight and fast to set up beats a heavy tent. A tarp with a bivy keeps you dry without the bulk.
- Shelter: a tarp with a bivy, an emergency bivy, or an ultra-light option like the SOL Escape Lite.
- Warmth: a season-appropriate sleeping bag or quilt, plus a compact blanket for the gaps.
- Ventilation: leave airflow so condensation doesn’t soak your gear overnight.
Fire and Signaling
Keep at least two ways to make fire, and keep them dry.
- Ignition: a wind-proof lighter, a ferro rod, and matches in a waterproof case.
- Signaling: a small mirror, a whistle, and reflective tape.
- Storage: keep every ignition source in a dry, accessible pouch.
Key takeaway: Water is non-negotiable. Plan 3 to 4 liters per person per day for drinking and cooking, and lock in reliable filtration before you expand calories or shelter.
4. Health, Hygiene, and Medical Readiness
Medical readiness is the hinge between a quick shelter and durable self-sufficiency. A compact, well-organized kit keeps you moving and heads off small problems in the first 72 hours. Ready.gov and the Red Cross both offer solid baseline lists to build from, then tailor to your family.
A well-rounded kit covers a few clear categories:
- Core kit: a reputable compact kit such as the Adventure Medical Kits Mountain Series, kept in a quick-grab top pocket.
- Wound and blister care: sterile pads, assorted bandages, antibiotic ointment, gauze, tape, antiseptic wipes, hydrogel dressings, and blister cushions.
- Sanitation: soap sheets or wipes, hand sanitizer, toilet tissue, a toothbrush and toothpaste, menstrual items as needed, and a small trash bag.
- Medications: OTC pain relievers, antihistamines, and antacids, a small supply of any prescriptions, and a note of allergies or conditions.
- Specialty items: nitrile gloves, a CPR barrier, iodine or saline, a thermometer, and a compact light for wound checks in dim conditions.
3 Steps To Keep It Ready:
- Label and date. Mark expiration dates and keep the kit in one sealable pouch.
- Keep it dry. Store meds sealed to avoid moisture damage and cross-contamination.
- Rotate and train. Swap perishable meds on schedule, and practice basic first aid with the household.
Say a hiker takes a minor forearm cut during a storm evacuation. They clean it with an antiseptic wipe, apply a sterile pad, tape it, and watch for infection, all from the quick-access pocket without unpacking the whole bag. That is the point of a labeled kit.
Key takeaway: Medical readiness is a system, not a single item. Keep a compact, labeled kit, rotate supplies, and schedule a semi-annual review with the family.
5. Navigation, Signaling, and Security
Signaling and location are what turn a bad day into a found-and-safe one. Without a way to signal, you lose the chance of being spotted. Without a simple plan for moving as a group, you burn time and energy you cannot spare. Build a light toolkit that covers three needs: signals that cut through noise, a reliable sense of location, and calm, agreed procedures for moving together.
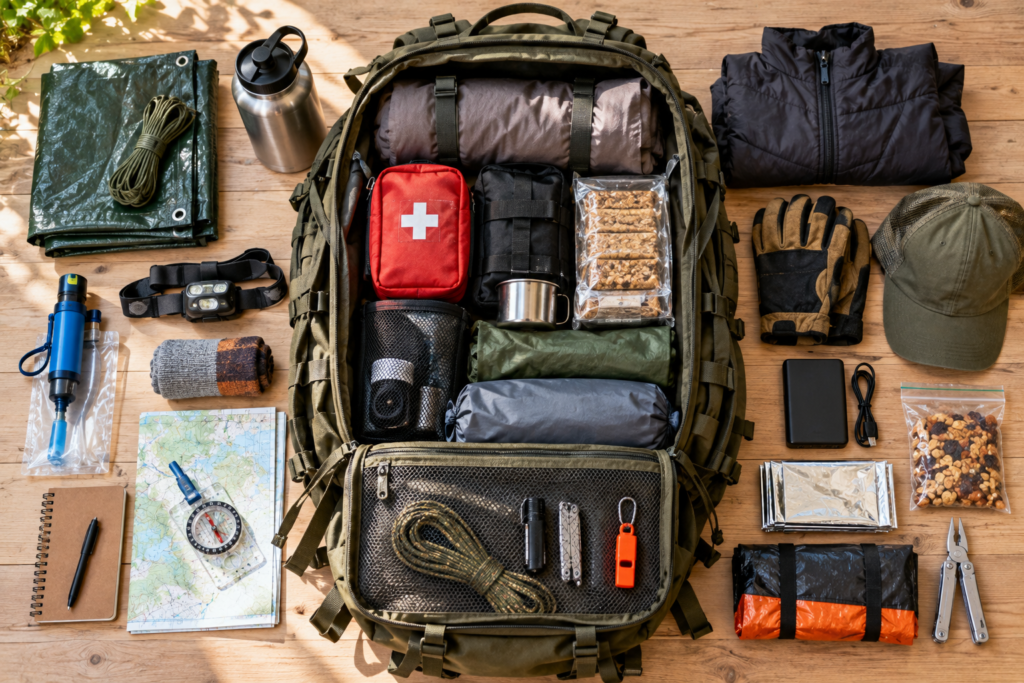
- Signaling that travels light: a high-pitched whistle, a compact mirror, reflective tape on the pack, and an LED beacon or headlamp with an SOS mode.
- Navigation and location: a paper map and compass, with a backup GPS or offline phone maps, plus preplanned routes and rendezvous points.
- Moving together: a buddy system with agreed signals, set meeting points, and regular, calm awareness checks.
The trade-off is real: signaling gear adds weight and can draw attention in crowded settings. Favor multi-use items, keep the critical signals in a grab pocket, and practice quick deployment so signaling never slows the group down.
In a mid-winter urban evacuation, a family uses a whistle to get attention across a busy street and a compact mirror to flag responders at a checkpoint. They navigate with a paper map and a handheld GPS to stay on a preplanned route, and mark their temporary shelter with a small LED beacon. Brief, coordinated, practiced.
Key takeaway: Prioritize multi-use signaling tools, keep them accessible, and test them with your group so the timing is second nature before you ever need it.
6. Power, Lighting, and Multi-Tool
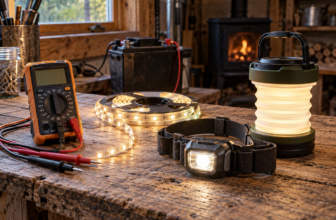
Power and light are non-negotiable. Without reliable illumination and a charging plan, night moves become guesswork and critical devices die. Keep it lean: one solid power bank, a compact solar option, and two dependable lights cover most situations. Weight, reliability, and cost are the tight triangle here, and solar alone won’t carry you, since weather, shadows, and tall buildings all sap the charge.
- Lighting: a headlamp with multiple brightness modes, plus a compact pocket light for close work.
- Power bank: aim for 20,000 to 30,000 mAh with USB-C PD, such as the Anker PowerCore 20000 PD.
- Solar panel: a 5 to 10 watt panel like the Goal Zero Nomad 5, matched to your bank’s input.
- Spare power: Eneloop-style NiMH or lithium AA and AAA cells, and a small USB-C charger.
- Multi-tool: a Leatherman Wave or a similar robust option for field repairs.
3 Steps To Keep Power Ready:
- Test monthly. Confirm you can reach the core lighting and power in a single grab.
- Refresh accessories. Swap perishable cables and charging bits every six months.
- Rotate the banks. Replace power banks before age turns them into a reliability risk.
During a regional winter outage, you move under dim street light with a headlamp, recharge your phone and GPS from a 20,000 mAh bank, and let the Goal Zero Nomad panel top it off during the day. The Leatherman clears a felled branch off your path. Lean, and it keeps you moving.
Key takeaway: Pair one high-capacity power bank with a small solar panel for topups, keep essential lighting in an easy grab pocket, and verify access with monthly checks.
7. Personalize, Test, and Maintain
A bug out bag is a living system, not a one-time build. The core stays stable, but the details shift with your household, your environment, and the pets you bring along. Customization is its own trade-off: specialized gear performs better in one scenario but adds weight, cost, and upkeep, so plan for easy swaps and avoid over-tuning for a single situation.
Keep the personalization simple and honest:
- Define who it serves: label items by person, and cover pets and medical needs.
- Set a weight and capacity target: keep a range in mind and a plan for how you’ll carry it.
- Tailor to the scenario: RV life, off-grid homesteading, and urban prepping each change how you access gear.
- Set a cadence: schedule checks, rotation, and practice carries so nothing goes stale.
- Source smart: refresh with bargains without giving up reliability.
3 Steps To Keep It Alive:
- Map it. Tie every item to a core need: water, food, shelter, warmth, health, navigation, signaling, power, and tools.
- Rotate and test. Check and rotate supplies every 6 to 12 months.
- Run a real drill. Do a 24-hour field test twice a year to validate access and comfort under load.
One family of four with a small dog adapts their bag for a 72-hour urban disruption. After six months they swap heavy canned meals for freeze-dried, add a dog first-aid kit and a collapsible water bowl, and test how fast they can reach the leash and car keys. Regular testing surfaces the gaps you would never notice until stress hits, like a dead headlamp or a filter past its life.
Key takeaway: Maintenance is part of the design. Schedule it, document changes, and treat the bag as a living system you tune with the family and the budget in mind.
Final Thoughts
Come back to that moment: minutes, not hours, and a bag already by the door. That calm is not luck. It is a weekend of choosing gear, packing it in zones, and carrying it around the block to see what pinches. Start with the 72-hour baseline, build the core, then personalize and test. A bug out bag you have actually practiced with turns a scramble into a steady walk out the door.