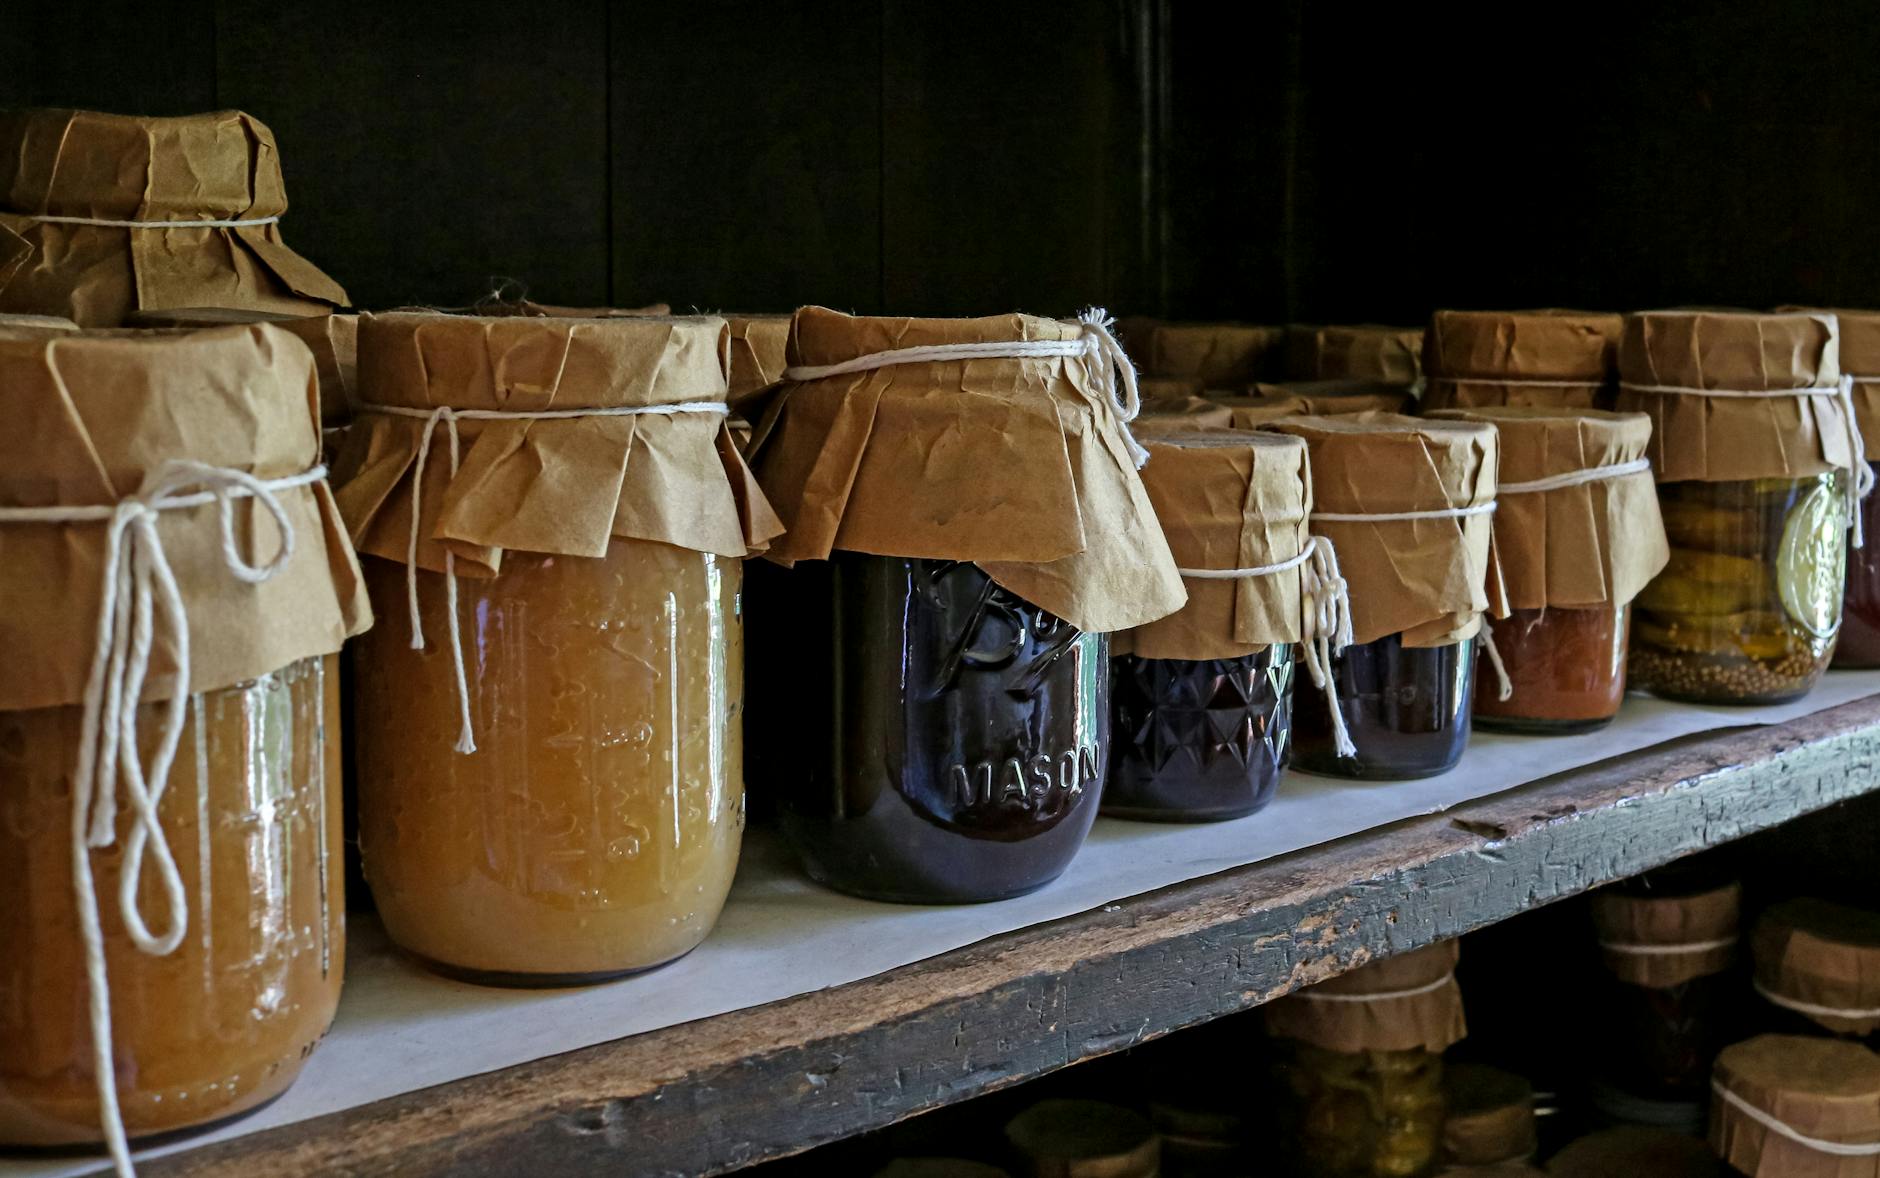
The right preservation method determines the equipment—not the other way around.
A counter piled with ripe tomatoes can make a pressure canner, dehydrator, and vacuum sealer all seem urgently necessary. Yet cooked leftovers can often go straight into freezer-safe containers, while a small bunch of herbs may need only a suitable place to dry. Buying appliances before choosing a method can solve the wrong problem.
Canning leaves less room for improvisation. A tested recipe may specify a boiling-water canner for high-acid food; low-acid vegetables and meats require a pressure canner. A pressure cooker or vacuum sealer cannot take its place. Start with the food, a tested recipe, and the required processing method. A sealed jar alone does not mean its contents are safe.
Match the method to the equipment
The first choice is the storage goal: frozen food must stay frozen; properly processed and packaged canned, dehydrated, or freeze-dried food can be stored at room temperature.
- Freezing: Use a freezer held at 0°F (−18°C) and airtight freezer bags or rigid containers. A vacuum sealer can reduce freezer burn but is optional.
- High-acid canning: Fruits, jams, and properly acidified tomatoes can be processed in a boiling-water canner. A rack, canning jars, new lids, and a jar lifter are also needed. Follow a tested recipe.
- Low-acid canning: Vegetables, meat, and beans require a pressure canner that reaches the pressure specified by a tested recipe. A boiling-water canner or ordinary pressure cooker is not a substitute.
- Dehydrating: A food dehydrator with adjustable temperature and good airflow dries produce and herbs evenly. Store thoroughly dried food in airtight containers; meat requires tested jerky procedures.
- Freeze-drying: A home freeze dryer, vacuum pump, and moisture-resistant, airtight packaging are needed. This is the costliest equipment choice, and an ordinary freezer cannot replace it.
Useful supplies for food prep
A small set of everyday tools makes preparation more consistent, whether food will be frozen, dried, fermented, or canned. These tools help with cleaning, portioning, and recordkeeping; they do not replace equipment required by a tested preservation process.
- Sharp knife, cutting board, and colander: Trim and rinse produce efficiently. Wash tools between raw meat and ready-to-eat ingredients to prevent cross-contamination.
- Measuring cups, spoons, and a kitchen scale: Follow recipe quantities precisely, especially when salt, sugar, or acid affects safety. Use the measurement type—volume or weight—specified in the instructions.
- Timer and waterproof labels: Track processing or cooling times, then mark finished food with its contents and preparation date.
- Clean towels and a food-safe cleaning routine: Start with washed hands and clean work surfaces; replace damp towels rather than spreading residue around.
Containers are not interchangeable. A freezer-safe box may be suitable for frozen food but not for heat processing. Choose containers and specialized equipment only after selecting a tested method and checking its instructions.
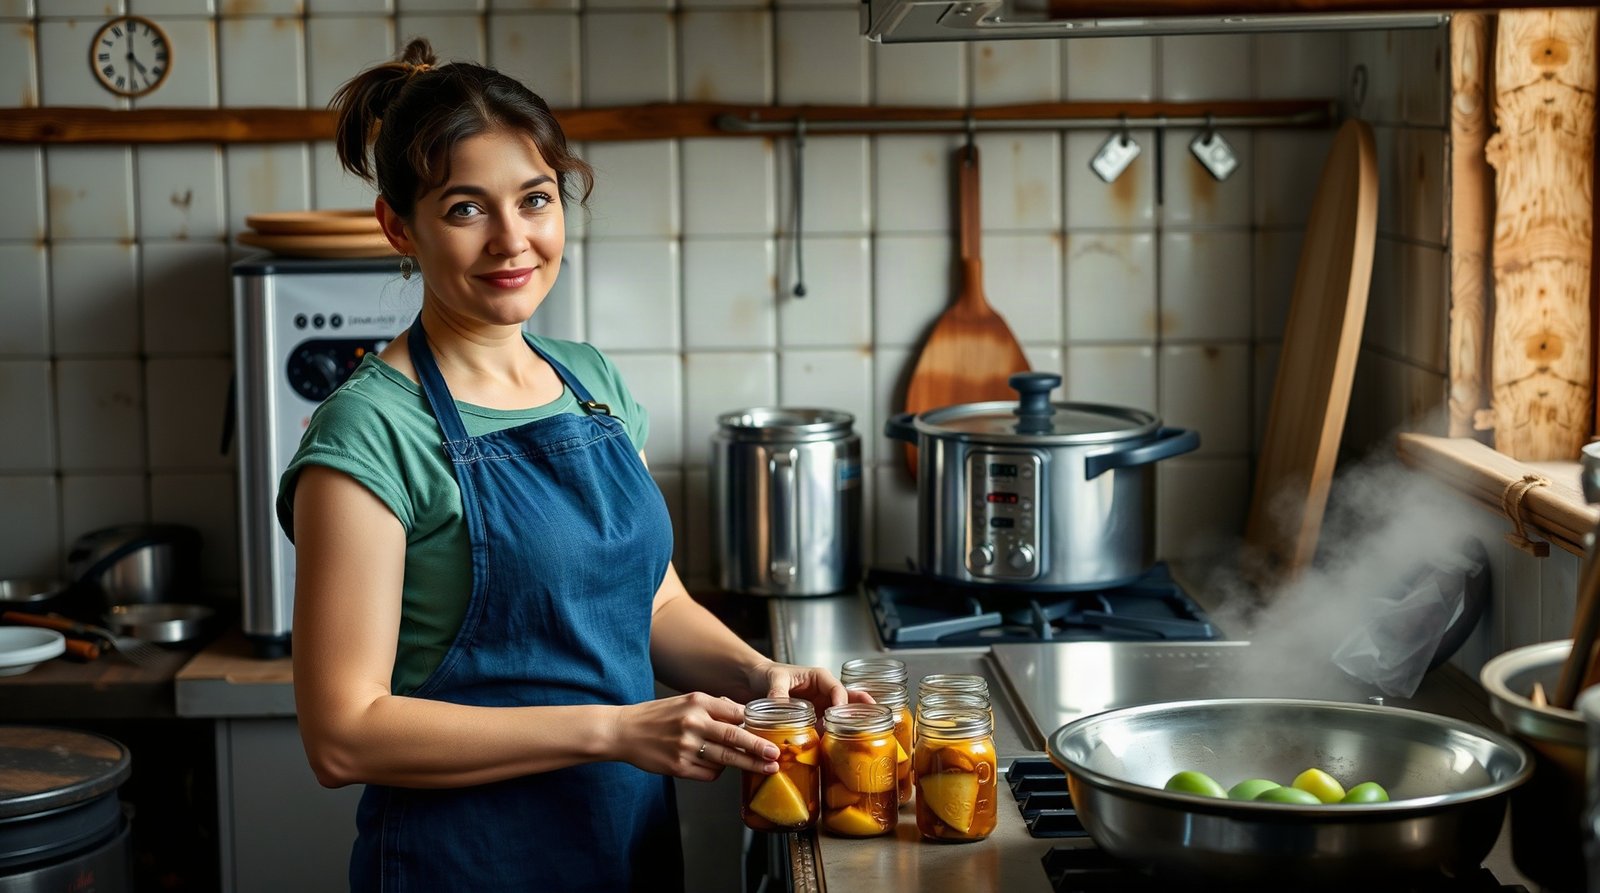
A boiling-water canning setup
A boiling-water canner is suitable for foods a tested recipe identifies as acidic enough for this method, such as many fruits, jams, and properly acidified pickles or tomatoes. The setup can be a purpose-made canner or a sturdy pot with a lid. It needs a rack to keep jars off the bottom and enough depth to maintain at least 1 inch of boiling water above them throughout processing.
- Use canning jars in the size specified by the recipe. Check rims for chips, and use new flat lids with clean, undamaged bands. Ordinary food jars are not a reliable substitute.
- Keep a canning funnel, bubble remover, and clean damp cloth nearby for filling jars, releasing trapped air, and wiping rims. A jar lifter provides a secure grip when lowering and removing hot jars.
- Have a timer ready. Start timing only when the water returns to a full boil, and follow the recipe’s altitude adjustment.
The tested recipe—not the pot or how the finished food looks—determines jar size, processing time, headspace, and whether acid must be added. Use only its specified acid and amount; adding a splash of vinegar by guesswork does not make an untested food safe for boiling-water canning.
Low-acid foods need a pressure canner
Plain green beans are a low-acid food. Boiling-water processing does not destroy Clostridium botulinum spores in sealed jars, even if the beans were boiled before filling. For shelf-stable jars, follow a tested pressure-canning process for green beans from a source such as the USDA or National Center for Home Food Preservation. Pickled beans require a separate, tested recipe.
A purpose-built pressure canner has a jar rack, a secure lid, a vent, and a weighted regulator or dial gauge. Tested processing times account for how jars heat during venting, processing, and natural cooling. Use the specified jar size and pack style, adjust pressure for altitude, and start timing only when the required pressure is reached.
A stovetop pressure cooker or electric multicooker may cook beans quickly, but that does not validate it for canning. Chamber size, pressure control, and cooling behavior can change how heat reaches the center of a jar. Despite its cooking functions, using an Instant Pot for pressure canning is not a substitute for a tested low-acid process in a pressure canner.
Freeze green beans instead. An untested pressure-cooker or multicooker cycle does not make jars safe for shelf storage.
Check that the pressure canner fits the job
-
Jar capacity and clearance
Check the manufacturer’s stated jar capacity, not just the canner’s volume. Quart jars must stand upright on the rack with enough room to secure the lid; a pressure canner should hold at least four.
Look forA stated capacity for the jar size intended.AvoidAssuming a quart-volume rating means quart jars fit. -
Stove compatibility
Confirm that both the stove maker and canner maker permit the combination. Burner size, canner weight, base shape, and induction-ready material can all rule out an otherwise suitable model.
Look forApproval from both manufacturers.AvoidJudging compatibility by appearance alone. -
Usable instructions
The model’s manual should explain venting, pressure control, maintenance, and permitted heat sources. Check that replacement parts and instructions are available before buying a used canner.
Look forA model-specific manual and obtainable parts.AvoidAn unidentified canner with missing instructions. -
Pressure gauge
Dial gauges give a reading but need accuracy checks as directed, including before the canning season; find a place to have a dial gauge tested. Weighted gauges regulate pressure without dial calibration, but the correct weight setting and altitude adjustments still matter.
Look forA gauge system the owner can maintain and use correctly.AvoidTrusting an unchecked dial reading.
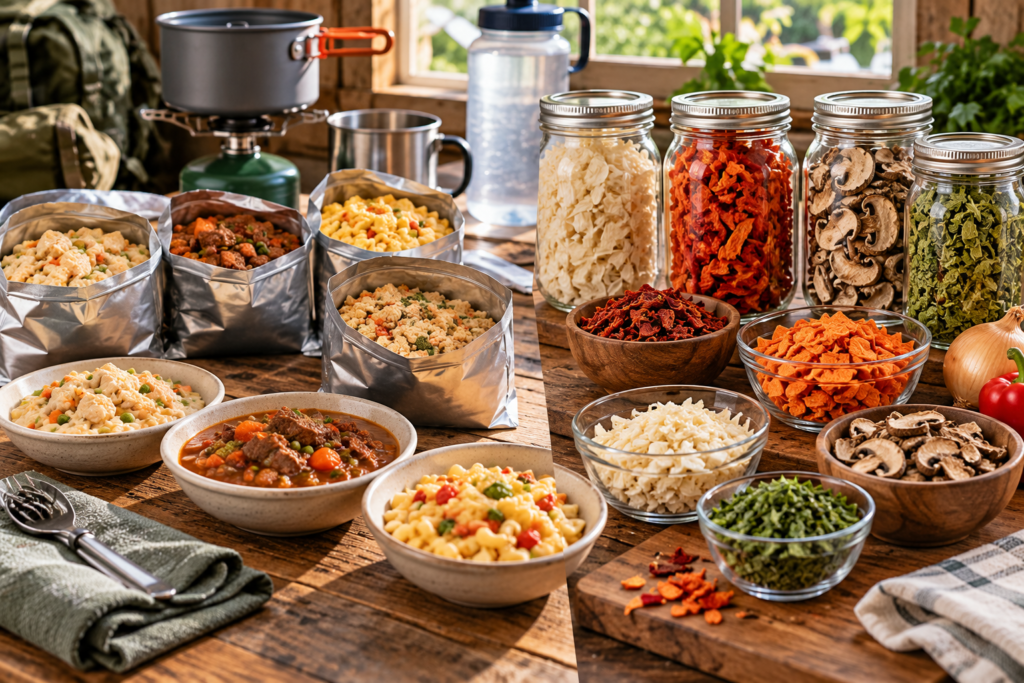
Drying food in an oven or dehydrator
An oven can handle a first small batch of sliced fruit or herbs if it can hold the low temperature specified in reliable drying directions. An oven thermometer helps verify the setting, while racks let air reach more of the food. Oven drying is often slower and less even, so trays may need rotating. A dehydrator’s adjustable temperature, stacked trays, and fan-driven airflow make repeated batches easier to manage.
Meat makes equipment choice more consequential. In a comparison of ovens and dehydrators for jerky, the key question is whether the setup can meet tested instructions for heating and drying meat. A dehydrator does not make raw meat safe simply by removing moisture. Follow a validated jerky recipe, including its required heating step and temperature checks, rather than judging safety by appearance.
Once food is thoroughly dried and cooled, pack it promptly in airtight, moisture-resistant jars or bags. Store packages somewhere cool, dark, and dry, and check them for condensation. Moisture means the food needs attention before storage; discard anything moldy.
What a home freeze dryer requires
A freeze dryer is not a larger dehydrator. A dehydrator uses warm air to evaporate water; a freeze dryer freezes food and removes ice under vacuum. The machine, vacuum pump, and storage supplies make this a substantially bigger purchase than a set of drying trays.
Before buying, check the machine’s footprint, weight, ventilation clearance, and electrical requirements against the intended workspace. Allow room to load and clean the supplied trays and to handle the pump. Oil-based pumps also need the manufacturer-specified oil, filters or oil-change supplies; oil-free pumps avoid oil changes but still require routine care.
Choose capacity by harvest volume per batch, not just tray count. A small unit may suit occasional garden surplus, while a concentrated harvest can demand many cycles over several days. Compare the cost of a larger machine with the electricity, time, and packaging needed for those extra batches.
Finished food must be thoroughly dry before storage. Keep heat-sealable moisture-barrier bags or suitable airtight containers ready, along with a sealer and oxygen absorbers when appropriate; package promptly so the food does not reabsorb moisture.
Buying freeze-dried food instead
Buying commercially freeze-dried food avoids the cost, space, and maintenance of a home machine. It also means choosing from prepared products rather than preserving a particular harvest or batch of leftovers.
Before buying, compare serving sizes and ingredients, not just the number of meals on the label. Shelf life depends on the package staying sealed and on following the maker’s storage directions, typically a cool, dry place. An opened pouch may not keep nearly as long; storage-life guidance for freeze-dried food explains why the printed date is not a guarantee under every condition.
Build one shopping list for one method
-
Choose the food and a tested method
Use a current, tested recipe to determine whether the food needs freezing, drying, boiling-water canning, or pressure canning. Let its processing instructions set the equipment requirements.
-
List processing equipment separately
Buy the pot or machine, rack or trays, and measuring tools the method requires. Then list storage supplies—such as jars and lids, freezer containers, or moisture-resistant bags—on a separate line.
-
Check the kitchen fit
Confirm stove approval and clearance for a canner, or counter space and electrical access for a dehydrator. Before processing, inspect seals, vents, and gauges; a leaking canner lid can prevent pressure from building.
-
Try a small batch
Follow the tested instructions and check the result. If dehydrator trays dry unevenly, address airflow and loading before buying more trays.
-
Expand only when needed
Add jars, trays, or freezer space after actual batches show what limits production.
A vacuum sealer or airtight container can help protect finished food, but packaging alone does not make an unprocessed food shelf-stable.
Start with one food and its tested process. A small trial reveals whether the setup works in the kitchen—and which extra supplies, if any, are worth buying.