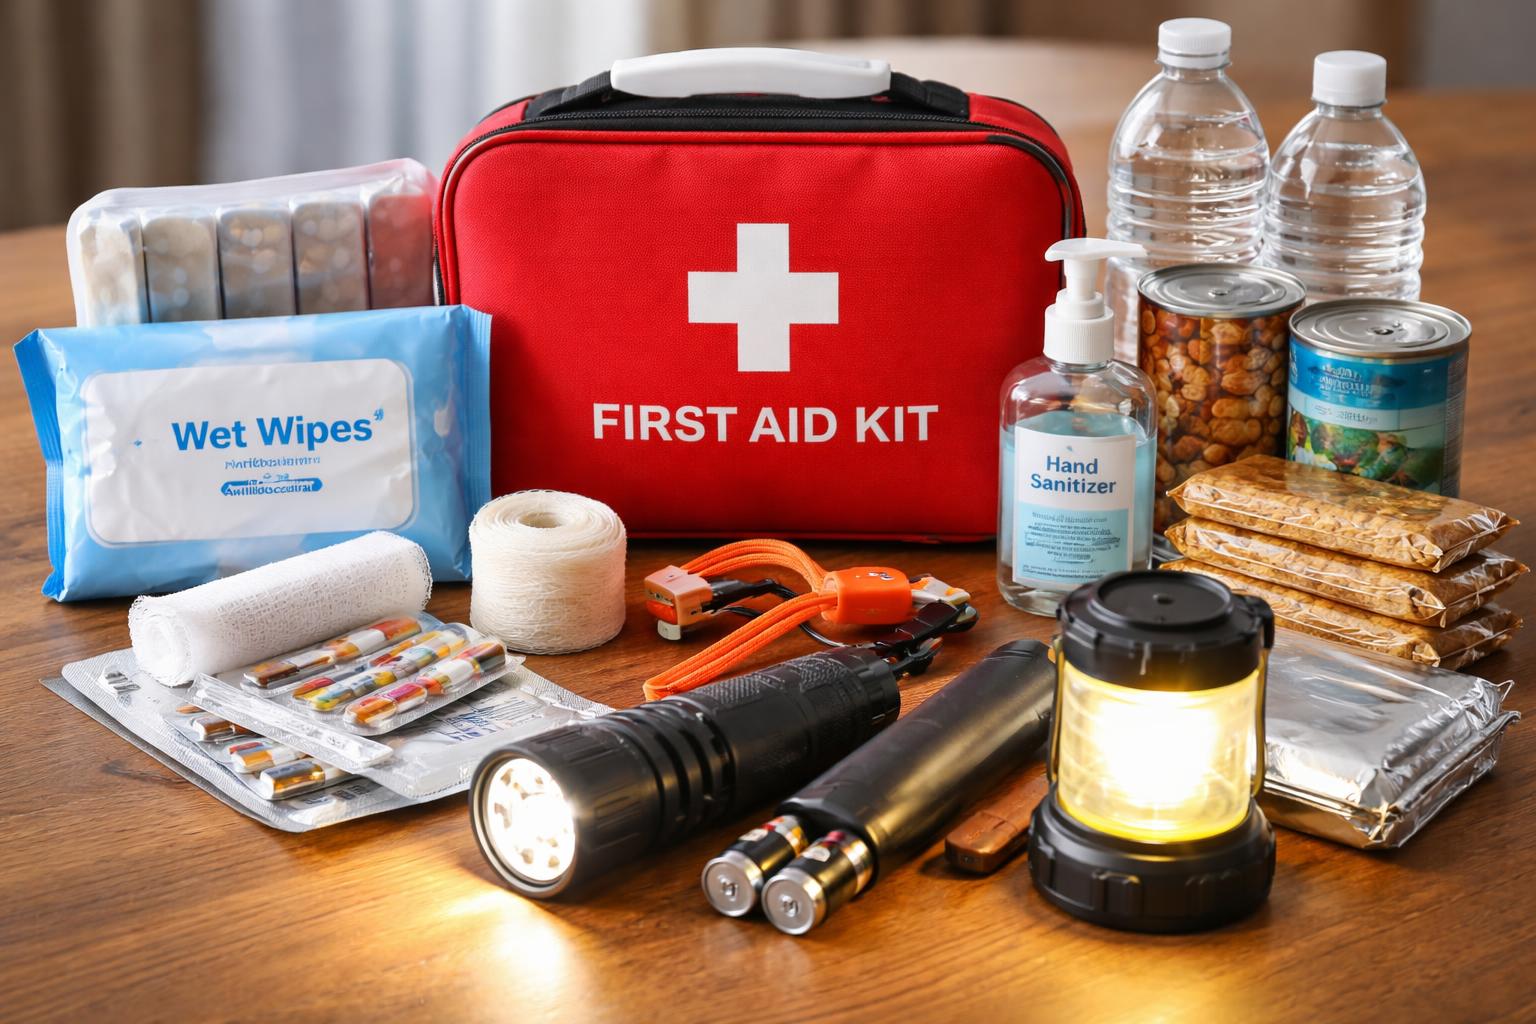
Back-to-school season changes your routine. You spend more time commuting, running between classes, or living in a compact dorm space, and small disruptions are easy to run into: a flat tire, a brief power outage, or a few hours stuck on campus. A simple, well-packed emergency kit helps you stay self-reliant when one of those days arrives.
This guide covers where to find affordable first aid kits, how to assemble your own, and two complete builds that each stay under $40, one for a commuter car and one for a dorm or backpack. Every item is chosen for usefulness, weight, and cost, with a focus on portability, waterproof storage, and supplies that are easy to carry and easy to find in a hurry.
How to Use This Guide
Start by deciding where each kit will live and how often you’ll check it. A car kit stays in the trunk or under a seat, while a dorm kit fits in a backpack or under the bed. Replace perishable items like food, water, and batteries by the dates printed on the packaging. These compact kits are built for the most likely short-term problems, roughly a few hours to a full day, and you can extend toward the widely recommended 72-hour supply as your budget allows. For official guidance on emergency planning, see the Centers for Disease Control and Prevention: CDC emergency preparedness.
Design Goals
- Under $40 total
- Compact and lightweight
- Useful for 1 to 2 people through a short disruption, from a few hours to a day
- Not a substitute for medical or legal advice; always follow official first aid and road-safety instructions
Where to Buy Cheap First Aid Kits and Supplies
You can find ready-made kits and individual supplies at plenty of everyday places:
- Big box stores (Walmart, Target) for inexpensive mini and medium first aid kits
- Online marketplaces (Amazon) for compact kits, car first aid kits, and travel-size options under $40, often with helpful reviews and ratings
- Dollar and discount stores for adhesive bandages, duct tape, and low-cost water containers
- Pharmacies and grocery stores for basic first aid supplies, bandage packs, and hygiene items
- Outdoor and sporting-goods clearance racks for compact backpack gear and water-resistant bags
How to Build Your Own Kit
Assembling a kit yourself is usually cheaper than buying one pre-made, and it lets you tailor the contents to a car, a dorm, or an everyday bag. Start with a container that is waterproof or water-resistant, such as a standard backpack, a duffel, a trunk organizer, or a compact tote. Keep medical supplies inside a waterproof ziploc bag or pouch so they stay dry, and label the kit clearly so anyone can grab it quickly in an emergency.
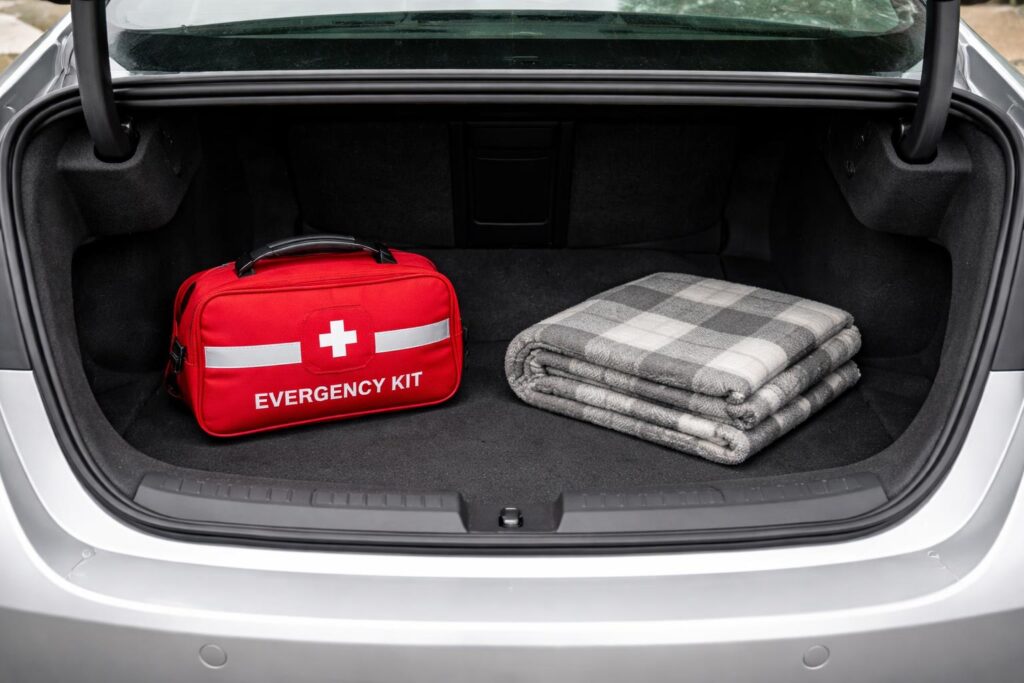
Build 1: Commuter Car Kit (Under $40)
A student driving to campus may deal with a flat tire, a dead battery, or getting stuck in traffic during bad weather. This kit focuses on safety, quick fixes, and staying comfortable while you wait for help.
What to Include
- Compact roadside triangle or reflective vest, $6. A reflective vest makes you visible if you have to step out of the vehicle. Choose one that meets ANSI/ISEA standards where listed.
- 12-pack of AA alkaline batteries, $6. Useful for flashlights and small electronics. Check the pack for the manufacturer’s shelf-life rating.
- Small LED flashlight or headlamp, $8. Look for at least 100 lumens; LED models last longer and use batteries more efficiently.
- Mini tire pressure gauge with a patch kit, or a can of tire inflator and sealant, $8. Inflator and sealant cans are a temporary fix, so read the label for compatible tire types and instructions.
- Basic multi-tool with pliers, knife, and screwdriver, $6. A compact multi-tool handles quick fixes and helps clear small debris.
- Emergency foil blanket, $2. Lightweight, inexpensive, and helpful for preserving body heat while you wait.
Estimated total: $36.
Round the kit out with a few things you may already own: a small first aid kit, a bottle or two of water, and a waterproof bag holding copies of your ID, insurance card, and emergency contacts. Jumper cables and road flares are worth adding when your budget allows.
How to Pack It
Use a small zippered bag or a plastic bin and keep it in the trunk or under the back seat. Clip the reflective vest to the outside of the bag so it’s easy to find, and check the batteries and inflator seals each season.
When to Use It
If you have to stop on the roadside, park as far from traffic as possible, turn on your hazard lights, and put on the reflective vest before you step out. Treat tire inflator products as temporary repairs and get professional tire service afterward. For vehicle-specific safety guidance, check your owner’s manual.
Build 2: Dorm & Backpack Kit (Under $40)
Students on foot or in shared housing need compact items for a power outage, lost keys, or being stranded between classes. This kit slips into a backpack or under a dorm bed.
What to Include
- Compact first-aid basics roll with bandages, antiseptic wipes, and adhesive tape, $6. This is not a substitute for professional care; for official first aid guidance, consult the American Red Cross or your local health authorities.
- Rechargeable power bank (5,000 to 10,000 mAh), $12. A 5,000 mAh pack usually provides about one full smartphone charge. Verify the capacity on the manufacturer’s label.
- Collapsible water bottle plus two 16.9 oz bottled waters, $6. Bottled water often carries a manufacturer-labeled “best by” date, so check the packaging. For guidance on drinking water after a disaster, see CDC drinking water after emergencies.
- Compact energy snacks such as a protein bar or trail mix, $3. Choose shelf-stable options and check the expiration dates.
- Small multi-use tool or pocket knife, if allowed, or a keychain wrench, $4. Check your campus rules on blades before packing one.
Estimated total: $31.
For dorm life, add any prescription medications you take, a small hygiene kit, a written copy of your evacuation and contact plan, and a storage bin that fits under the bed or in a closet.
How to Carry It
Keep the kit in the main compartment of your backpack or in a small tote under your bed. Store the water and snacks somewhere cool and dry, and rotate them before they expire.
Power and Phone Tips
Charge the power bank once a month so it’s ready when you need it. During a building outage, stretch your phone battery by lowering screen brightness, closing background apps, and switching to airplane mode when you don’t need a signal. Before buying a power bank, check the manufacturer’s specifications for output voltage and mAh rating.
Money-Saving Tips
- Buy multi-packs and split the contents between your car and backpack kits
- Choose kits labeled water-resistant or waterproof for longer storage
- Prioritize expiry-sensitive items like food, water purification tablets, and medicines, and note their dates
- Watch for bundle deals during back-to-school, Black Friday, and seasonal clearance
- Pair a ready-made first aid kit with homemade additions like food, water, and duct tape to stay under $40
Optional Add-Ons and Upgrades
- A compact hand-crank radio and flashlight combo, useful where batteries are hard to replace, for about $10 to $20 new
- Emergency water purification tablets, which are lightweight and long-lasting; follow the manufacturer’s dosing instructions
- An extra small roll of duct tape, which is versatile and inexpensive
Keeping Your Kit Ready
Set a simple schedule: check your kits at the start of each semester and after any long trip. Replace expired food, water, and batteries, and restock first aid items after you use them. Confirm the power bank still holds a charge, since many manufacturers suggest replacing lithium-ion banks every 2 to 3 years, or sooner if the capacity drops noticeably. Check your product’s user guide for its stated lifespan and safety instructions. Learning basic first aid and CPR is worth the time too, because it makes any kit far more effective.
Batteries also last longer than many people expect. Energizer lists up to 10 years of shelf life for some of its alkaline batteries, though you should always check the packaging for the specific claim and expiration date before you buy: Energizer product info.
Putting Preparedness in Context
These are not comprehensive survival kits. They are compact, affordable, and aimed at the short-term problems a student is most likely to face while commuting or living on campus. For extended outages or major incidents, follow the official evacuation and emergency instructions from your local authorities. For trusted safety and first aid information, turn to recognized sources like the American Red Cross (redcross.org) and your local public health agencies.
Final Checklist
Before you finalize your kit, make sure you have:
- Home and campus emergency contacts saved in your phone and written on paper
- A small amount of cash, if you carry it
- A printed copy of key medical information if you have any health conditions
Back-to-school is a good reminder to prepare for small interruptions. These two builds, one for the car and one for a dorm or backpack, give students practical tools for everyday preparedness without breaking the budget. Pack sensible items, check them each season, and you’ll be ready to handle the most common delays and inconveniences calmly and confidently.